Dangers of Lumbar Flexion in Yoga

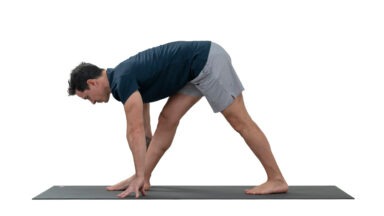
Consider the number of times you flex forward at the waist or hips in a yoga class. Lower back flexion in yoga presents a number of risks when done improperly. We often hear our yoga teacher telling us to hinge at the hips instead of the lower back. Let’s consider what these cues really mean and offer in creating a safe forward bending yoga posture. First of all we have to go through a bit of yoga anatomy and biomechanics to understand the issues involved in this common movement.
Our spine is composed of twenty-four mobile vertebrae. The cervical spine includes the top seven vertebrae, while the thoracic spine is made up of the middle twelve, and the lumbar spine completes the count with the bottom five. Below the last lumbar vertebrae are the sacrum and coccyx. The sacrum is a triangular shaped bone that is actually the fused remnant of five sacral segments. The coccyx, also known as our “tailbone,” is an even smaller triangular bone that sits below the sacrum.
Both our cervical and lumbar spines take on a curve that is known as a lordosis. This lordosis essentially means that the cervical and lumbar curves’ concave sides face the front of the body; while our thoracic curve’s concave side faces the back of our body.
In-between each vertebra is an intervertebral disc. The basic functions of the discs are to act as vertebral shock absorbers and as spacers for the spinal nerves to exit the bony vertebral column. Our spinal cord runs down the inside of our vertebrae; each spinal nerve that divides from the spinal cord supplies a particular part of the body with neurological function. This explains many of the symptoms people get when they herniate or bulge a disc (burning, aching, pins and needles, tingling, pain, and weakness through particular parts of the limbs).
Intervertebral discs are round in shape with thick outer borders and jelly-like contents within the border. Each time we bend forward at the low back, the back side (posterior side) of the disc weakens. Over time, with excessive lumbar spinal loading or flexion, the disc develops microtears. Sometimes, these microtears can produce symptoms that are relatively mild; however, when the tears become more significant, symptoms become quite severe. If the thick border has enough microtears or one large tear, the inner jelly-like substance can squish out of the tear to either chemically irritate or physically compress the spinal nerves that exit the spine off of the spinal cord.
How is this complicated anatomy relevant to yoga, picking up a piece of paper off the ground, or even bending over to brush your teeth? Lumbar flexion is the movement of bending forward at the low back while rounding the spine. Due to the lordosis (lumbar curve), this position of flexion increases the likelihood of intervertebral disc microtears which then increases the chances of disc irritation, bulging, and most severely, herniation. A disc injury is one you most definitely want to avoid as they are hard to recover from and they increase your chances of low back injury recurrence; never mind the fact that they cause a lot of pain and can cause symptoms severe enough to require surgery due to neurological complications.
You must now be wondering how to keep your back safe while bending forward either on your mat or in your activities of daily living. When you bend forward, think about keeping your buttocks out and maintaining the natural curve in your lumbar spine. When you are standing straight up and when you bend forward, your lumbar curve should not change shape (much). Hinge forward at your hip joints instead of at your lumbar spine. People always say, “I bend my knees when I flex forward so I am ok!” My answer to that is that you can flex your knees all you want, but if you flex your lumbar spine as well, your back is at risk of injury. If you have to pick something up off the ground, the best way to do it is to both flex your knees AND keep you buttocks out to maintain your lumbar curve.
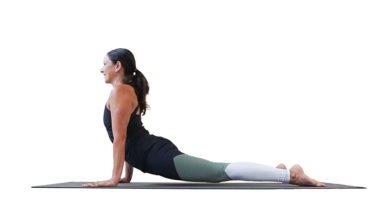
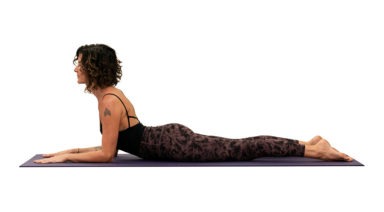
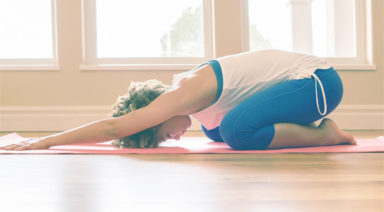
These principles apply to yoga as we bend forward quite a bit while on our mats. The repetitive action of improper forward flexion is dangerous, so be aware of your lordosis while you flex forward in poses while on your feet, on your back, or on your buttocks. This is even something you should think about while sitting at work; if you slouch through your lumbar spine, you are loading the discs which in time leads to microtears.
Understand your lumbar lordosis as it is your power position in everything you do. Take care of your back by being aware of how you flex forward and never compromise your back to reach further on your yoga mat.
Yoga Anatomy: Avoid Hand and Wrist Injuries
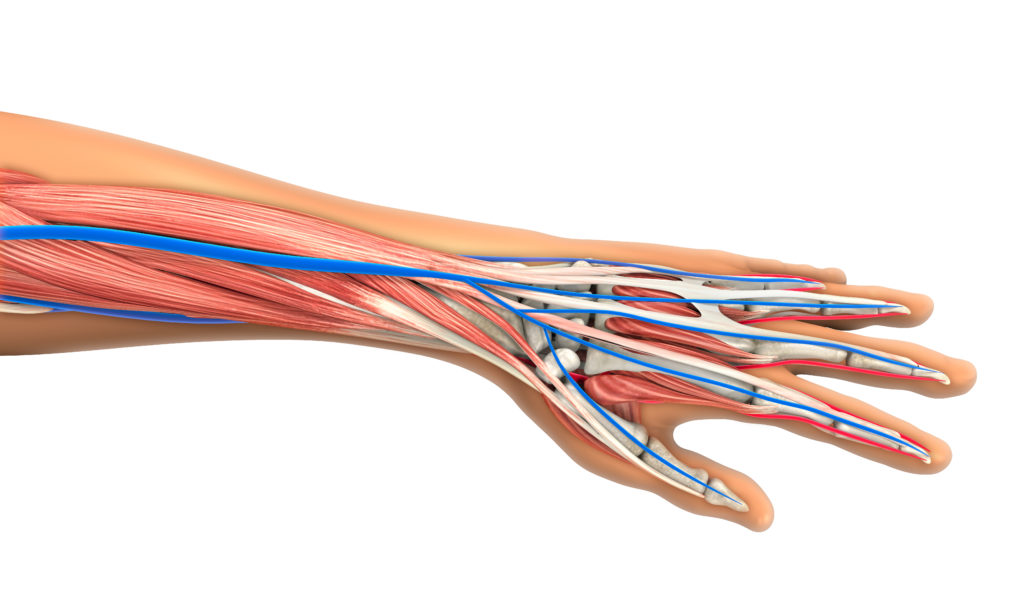
Think of the number of times your hands and wrists are connected to the earth and carry your weight in a typical Hatha Yoga practice. Like our feet, our hands frequently become a crucial foundation from which our postures build and express themselves. Sustaining mindful engagement of our hands will support a life-long practice that is free of negative stress conditions and injuries to the wrist. Let’s look at some anatomical aspects to give us empowerment and motivation to explore our unique positioning and engagement of the hands and wrists.
The wrists are formed by our 2 forearm bones (the radius and ulna). They meet dat the wrist joint where there is cluster of small bones (carpal bones). The carpal bones connect with 5 long bones (metacarpal bones) that make up the palm of the hand. From there, the metacarpal bones connect to the bones of the fingers (phalanges). The carpal bones form a tunnel through which tendons and nerve tissue pass to service the hand and fingers. One primary focus of hand engagement is to avoid collapsing into this tunnel and keeping excessive pressure from cascading into that track of muscle and nerve tissue.
One primary focus of hand engagement is to avoid collapsing into this tunnel and keeping excessive pressure from cascading into that track of muscle and nerve tissue.
Another key structural area to consider is the joint connection between the ulna and the carpal bones. If you turn your hand open (supination of the forearm and wrist), your ulna is the inside forearm bone (medial side). Unlike the radius (lateral or thumb side) that has a direct joint connection to the carpal bones, the ulna has indirect joint connection. Instead, there is a piece of fibrocartilage (designed to absorb stress forces) between the ulna and carpal bones along with a network of supporting ligaments – this area is called the Triangular Fibrocartilage Complex. When we look at the overall differences in joint connection, the radius also has a larger joint surface compared to the ulna. This gives indication that most people are best served to deliver a greater proportion of their force and energy through the radial side of the wrist than through the ulnar side.


