Protecting Wrists in Downward Facing Dog and Yoga Poses
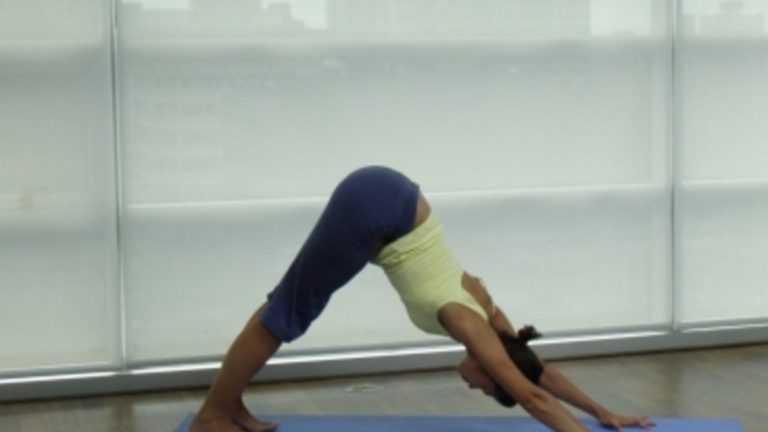
I teach Hatha Yoga classes at a variety of Yoga studios, some with carpet and some with hardwood flooring. Regardless of the flooring type, I often see common hand-placement errors in wrist-loading Yoga poses like Downward Facing Dog that can chronically lead to compression injuries in the wrists.
Having the proper placement and understanding of how to manipulate the surface area of the hands can significantly reduce the incidence of wrist injuries in your Yoga practice. The first issue to address is the floor type that we practice Yoga on. Most people find practicing on hardwood floors hard for the knees and other pressure points on the body. To create cushioning, many people practice in studios on two Yoga mats. This doubling of mats creates a similar problem to practicing with a Yoga mat on a carpet. The thickness of two mats or of a mat on carpet causes the hands to sink into the soft support. When hand positions are even slightly off-balance, body weight is shifted even more into those sinking points. The wrists are next to fall into this compression and take this uneven energy. What causes this uneven compression?
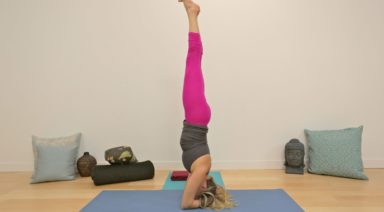
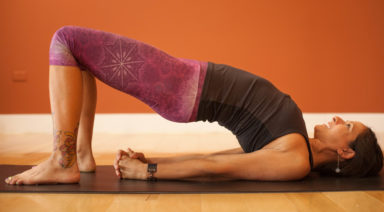
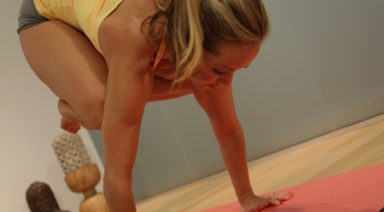
Notice what happens to the connection points in the hands the next time you do Downward Facing Dog, Cat pose, Plank pose, Cobra pose or any other pose that positions your hands forward of the shoulders and applies pressure. As you move away from your hands in Downward Facing Dog or in the exhaled phase of Cat pose, do the inner regions of the hands (proximal index finger and knuckle) lift off the ground? Is there space flowing from the inner hand into the palm?
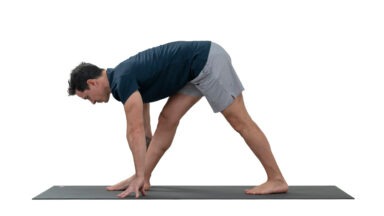
When the inner hand lifts in these loaded poses and when we practice on thick surfaces, body weight transfers heavily to the outer wrist joints. These outer joints become easily compressed and, for some, result in acute or prolonged pain. Considering how static pressure increases when we decrease the surface area that the pressure is being applied to, we can easily decrease this damaging pressure by bringing attention to how we apply energy into the hands. Before loading the hands in Yoga poses, align the wrists so the middle and index fingers roughly point forward or parallel with your mat. Send a gentle spread across the fingers without tension going into the wrists and arms. Allow a pause to lightly ground the proximal end of the index fingers and the index knuckles. Feel that you are already distributing your body forward out of the wrists and more evenly over the hands. Rather than the weight going into a small portion of the hands (high pressure), the weight is fanned out over a greater area (less pressure). As you set up the rest of the pose, keep applying this gentle, inner grounding of the index region. You may feel as though you are slightly spiraling the forearm inwards.
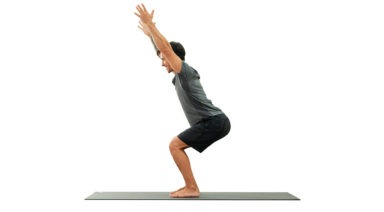
In Downward Facing Dog and Plank poses, this inwards spiral of the forearms, may draw the upper arm bones and shoulder blades forward. Therefore, a countering motion is required. A slight outwards spiral of the upper arms should be applied along with a light hugging of the shoulder blades back and down into the upper ribs. There are various Yoga equipment products that can aid in reducing wrist compression as well. But I first recommend exploring how you can change hand placement and energy applications. If possible, practice with only one mat and thinner cushioning under the hands.
Be more aware of the surfaces you practice on and add additional care to protecting the wrists in loading Yoga poses. As our practice is life-long, we need to perform Yoga poses mindfully to sustain the vitality of joints.
About the Author
Yoga Anatomy: Avoid Hand and Wrist Injuries
Think of the number of times your hands and wrists are connected to the earth and carry your weight in a typical Hatha Yoga practice. Like our feet, our hands frequently become a crucial foundation from which our postures build and express themselves. Sustaining mindful engagement of our hands will support a life-long practice that is free of negative stress conditions and injuries to the wrist. Let’s look at some anatomical aspects to give us empowerment and motivation to explore our unique positioning and engagement of the hands and wrists.
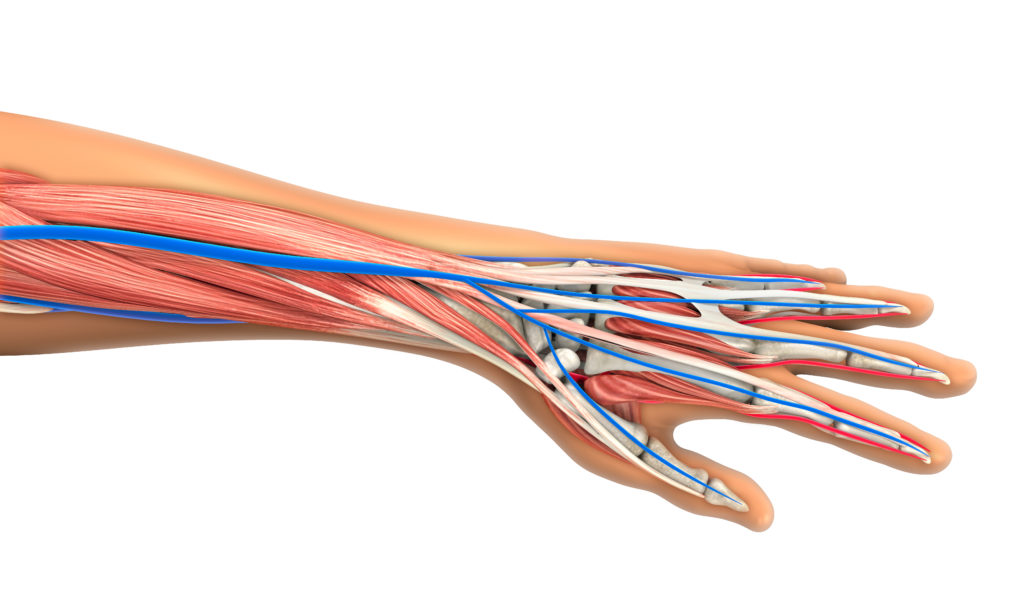
The wrists are formed by our 2 forearm bones (the radius and ulna). They meet dat the wrist joint where there is cluster of small bones (carpal bones). The carpal bones connect with 5 long bones (metacarpal bones) that make up the palm of the hand. From there, the metacarpal bones connect to the bones of the fingers (phalanges). The carpal bones form a tunnel through which tendons and nerve tissue pass to service the hand and fingers. One primary focus of hand engagement is to avoid collapsing into this tunnel and keeping excessive pressure from cascading into that track of muscle and nerve tissue.
One primary focus of hand engagement is to avoid collapsing into this tunnel and keeping excessive pressure from cascading into that track of muscle and nerve tissue.
Another key structural area to consider is the joint connection between the ulna and the carpal bones. If you turn your hand open (supination of the forearm and wrist), your ulna is the inside forearm bone (medial side). Unlike the radius (lateral or thumb side) that has a direct joint connection to the carpal bones, the ulna has indirect joint connection. Instead, there is a piece of fibrocartilage (designed to absorb stress forces) between the ulna and carpal bones along with a network of supporting ligaments – this area is called the Triangular Fibrocartilage Complex. When we look at the overall differences in joint connection, the radius also has a larger joint surface compared to the ulna. This gives indication that most people are best served to deliver a greater proportion of their force and energy through the radial side of the wrist than through the ulnar side.