Standing Tall: Why Posture Matters

Remember how your mom used to always lecture you to stand up straight? Well, she might have made some mistakes over the years (that outfit in your 5th grade school picture), but on this one, she’s right. Posture matters more than you may think.
First, let’s talk about your body, starting at the top. Each inch your head is forward of your shoulders doubles the amount of weight it puts on the rest of your body. Although the average head only weighs between 8-10 pounds, your upper back (and then lower back and hips) will become misaligned if your head “lives” in a forward position – all in an attempt to balance your now-too-heavy head.
And, unless you sit in an ergonomically perfect workstation, chances are you round forward over your keyboard or laptop like something straight out of the latest episode of the “Walking Dead.” Most of us, sadly, are in the process of developing this posture. Blame the Internet (we’re talking to you, Mark Zuckerberg) or your boss (for making you work too much).
What happens to our bodies? Back pain, neck pain, hip pain and knee pain. And, let’s not forget your breathing. Collapsing forward compresses your lungs, reducing their capacity by 30 percent or more. Your organs can’t function properly, and neither can your muscles, joints, or connective tissue.
Posture also matters for your mental health. Good posture allows you to breathe more fully, calming your nervous system, which can help with everything from good sleep to good moods. Plus, standing up tall makes you feel more confident. Slouching pulls your energy downward, even making walking and balance more difficult.
What to do? First, analyze your own posture. Do your shoulders slouch? Is your head forward? Do you have back or neck pain? When you walk do you have a tendency to lean forward and feel like you’re lifting your knees towards you?
Since it is vital to have extension in the upper torso in standing posture, the starting place is simply awareness of how you’re standing or sitting. Imagine lifting out of your pelvis, shoulders back, head looking slightly above the horizon.
Don’t spend too much time sitting at your desk, especially in bad posture. Take a walk. Inhale your arms overhead and slightly back. Regularly engage your lower trapezius to draw your shoulders away from your ears, and your rhomboids to draw your shoulders together.
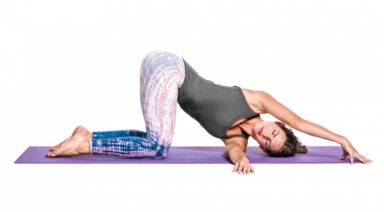
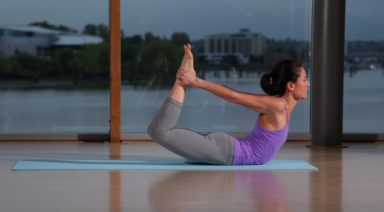
And balance the forward posture with a lot of back bends. Stretch your pecs and anterior shoulder muscles with anahatasana pose (think child’s pose with your hips over your heels, reaching your tailbone and chest away from each other). Camel pose has been called the “antidote to sitting” because it stretches the entire front of your body.
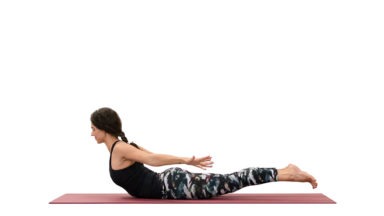
If you have access to a Pilates reformer, you’re in luck. Do seated arm circles to take your shoulders through a weighted stretch, and turn around for chest expansion to, well, expand your chest and your lung capacity. Or just lie down on a mat, extending arms and legs long on the floor, and lift up, fluttering arms and legs in opposition while breathing deeply.
Most importantly, throughout your day, remember to stand up straight. Don’t slouch. Just listen to mom on this one. You can still argue about your clothes, your politics, and what’s for dinner. On posture, she’s right.
Yoga Anatomy: Avoid Hand and Wrist Injuries
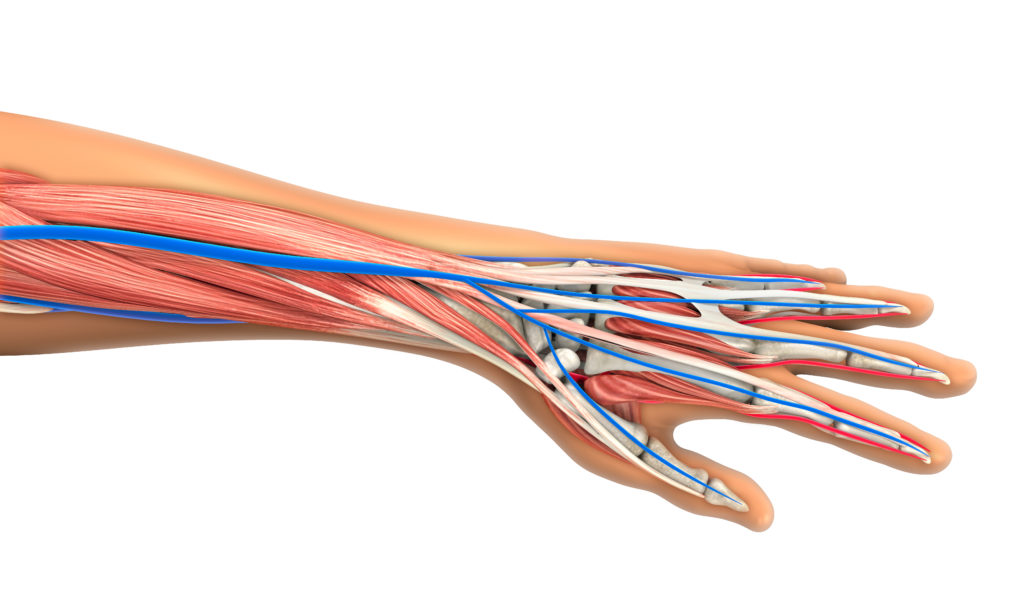
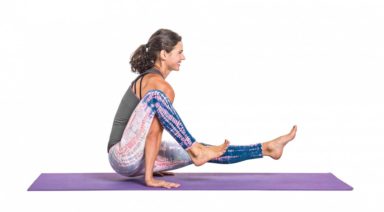
Think of the number of times your hands and wrists are connected to the earth and carry your weight in a typical Hatha Yoga practice. Like our feet, our hands frequently become a crucial foundation from which our postures build and express themselves. Sustaining mindful engagement of our hands will support a life-long practice that is free of negative stress conditions and injuries to the wrist. Let’s look at some anatomical aspects to give us empowerment and motivation to explore our unique positioning and engagement of the hands and wrists.
The wrists are formed by our 2 forearm bones (the radius and ulna). They meet dat the wrist joint where there is cluster of small bones (carpal bones). The carpal bones connect with 5 long bones (metacarpal bones) that make up the palm of the hand. From there, the metacarpal bones connect to the bones of the fingers (phalanges). The carpal bones form a tunnel through which tendons and nerve tissue pass to service the hand and fingers. One primary focus of hand engagement is to avoid collapsing into this tunnel and keeping excessive pressure from cascading into that track of muscle and nerve tissue.
One primary focus of hand engagement is to avoid collapsing into this tunnel and keeping excessive pressure from cascading into that track of muscle and nerve tissue.
Another key structural area to consider is the joint connection between the ulna and the carpal bones. If you turn your hand open (supination of the forearm and wrist), your ulna is the inside forearm bone (medial side). Unlike the radius (lateral or thumb side) that has a direct joint connection to the carpal bones, the ulna has indirect joint connection. Instead, there is a piece of fibrocartilage (designed to absorb stress forces) between the ulna and carpal bones along with a network of supporting ligaments – this area is called the Triangular Fibrocartilage Complex. When we look at the overall differences in joint connection, the radius also has a larger joint surface compared to the ulna. This gives indication that most people are best served to deliver a greater proportion of their force and energy through the radial side of the wrist than through the ulnar side.

