Understanding the Sacroiliac Joint
Asana Anatomy-Understanding the Sacroiliac Joint
Controversy does not often strike the yoga community. Non-harming, truthfulness, and loving kindness are not very controversial concepts. Yet the poor, barely mobile, sacroiliac joint has become the center of a yoga debate – to square or not to square the hips. Ok, so it is not as racy as a celebrity feud, but it may affect your personal yoga practice.
Let’s dissect this joint.
The two sacroiliac joints (SI joint) are formed by three bones: the triangular sacrum bone, and the two wing like bones of the pelvis known as the ilium. Each iliac bone (one half of the ilium) comes in contact with one side of the sacrum, forming two SI joints. This connection is like three puzzle pieces fitting together known as form closure. Form closure creates stability, keeping the pelvis together in one unit. The SI joint itself is shaped like a boomerang with two arms at 90 degrees to each other. The upper portion lies in an up-and-down orientation and the lower portion lies in a front-to-back orientation. The surface of the joint is covered in coarse cartilage, adding friction and contributing to the force closure.
The sacrum moves in nutation (forward) and counter nutation (backward) in relation to the ilium. The sacrum can move only on one side, like in lifting one leg, or both sides, like when we move from lying to standing. This movement is very small, amounting to 1 or 2 mm of motion in either direction. As we age, the sacrum becomes wedged increasingly forward, but this doesn’t fully happen until we reach our 30’s. This wedging increases the resistance to shearing (twisting) forces across the sacroiliac joint. Herein lies the problem. The SI joint is a joint that is intended to provide stability for the pelvis, and is not built to move.
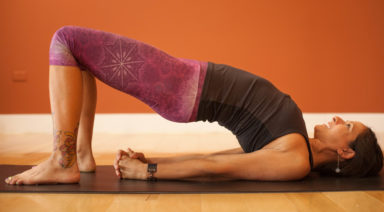
The SI joint has another mechanism of stability – force closure. This is the stability created by the action of the core musculature that has attachments into the SI joint – namely, the muscles of the pelvic floor, and the transverse abdominis. Conveniently, we can access these muscles through the activation of the bandhas or energy locks in yoga. In mula bandha we imagine a subtle lifting up of the muscles we use to control the flow of urine. In women, activation of this musculature has been shown to provide force closure for the SI joint. In uddiyana bandha, we draw the lower belly in and up, activating the transverse abdominis muscle. For this version, the scooping of the lower belly needs only to be subtle, and slightly flattens out the lower abdomen.
Hip Opening or Sacroiliac Opening?
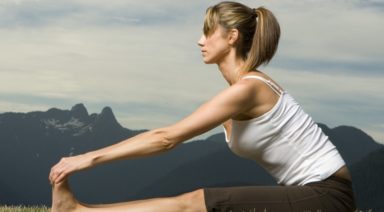
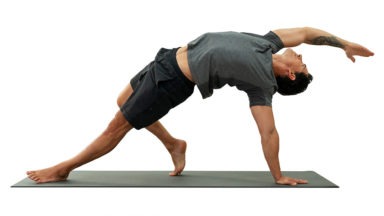
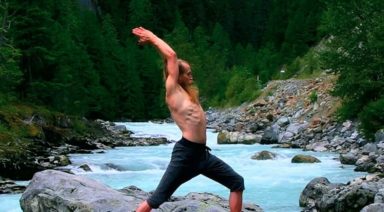
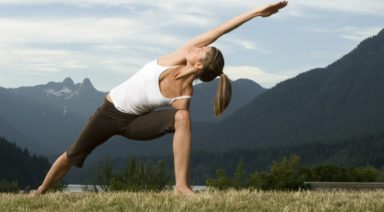
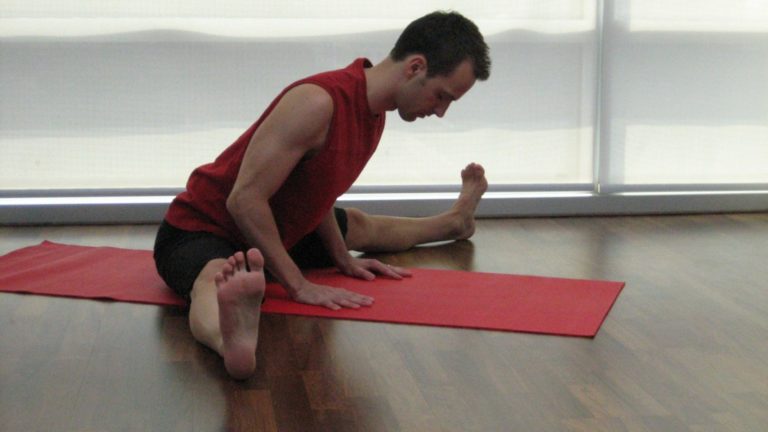
Many of us identify ourselves as having “tight hips”. For many, this means a lack of external (outward) rotation at the hip joint. Using the example of Virabhadrasana I or Warrior I pose, our front hip is in a flexed position with toes pointing straight ahead. Our back foot is on the floor at a 45 degree angle, and in order for the points of our hips (our iliac crests) to face toward the front of the mat, our back hip needs to extend, and externally rotate. If we look deep inside we see that these actions require our sacrum to nutate forward on the side of the lead leg, and counter nutate backward on the side of the rear leg. If the rear hip resists external rotation in order to square the hip points forward a twisting or shearing force is introduced across the SI joint. Over time this can lead to irritation, hypermobility, and dysfunctional firing patterns of our pelvic musculature.
Happy Sacrum
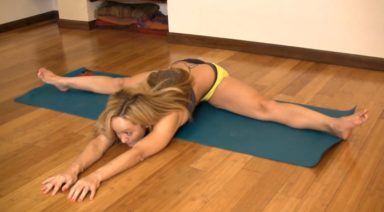
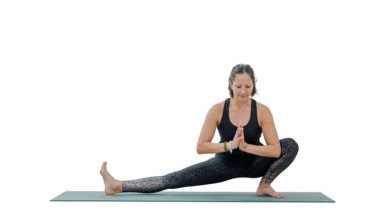
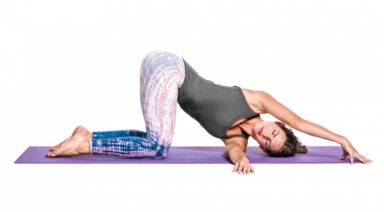
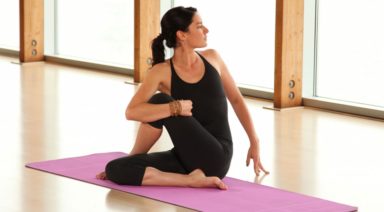
This situation is an opportunity to practice ahimsa or non-violence towards our SI joints. There are a few ways you can diminish the shearing force across the SI in standing poses. The first is to take a slightly wider stance, opening your feet to hip width (rather than heel to arch or heel to heel). This enables your pelvis to comfortably square forward. Another option is to keep the feet as they are and simply allow your pelvis to be slightly open to the side of your mat. That’s right, let go of the desire to perfectly square your pelvis forward. Instead, imagine the hip bone in its socket, outwardly rotating. Keeping that rotation, tuck the tailbone under slightly, creating room in the front of the hip. You may find that this provides more freedom of movement and may naturally square your hips further. In standing and seated twists, be sure to engage the muscles of the pelvic floor (mula bandha) to support the SI joint before twisting.
When we step back for a moment and acknowledge the true purpose of our yoga practice, suddenly trying to make our bodies fit a mold doesn’t make much sense. Being more forgiving and accepting of our bodies limitations enables us to go much deeper into our yoga practice and experience the joy of yoga safely. Now that doesn’t sound controversial at all.
About the Author

3 Exercises to Strengthen Your Hips and Balance Your Body
In yoga we often speak of tight hips, needing to open the hips, balancing the opening of our hips from side to side (etc), but there is more to a balanced body than open hips. We also need stability and support from our hips. This is important not only in yoga but also in day-to-day activities like simply walking. It is especially important if you are an athlete and need to perform on one leg.
A Look Inside the Hip Our hip musculature is made up of many muscles, large and small. For stability, we need the muscles of the side of the hip to be active and engaged. If you place your hands on the sides of your bony pelvis below your waist, you can imagine a tear-drop-shaped area below the ridge of your pelvis. The front part of the tear is the Tensor Fasciae Latae or TFL which connects with your IT band to join at the knee. At the back part of the teardrop are the Gluteus Medius and Minimus, which lie underneath your big Gluteus Maximus.
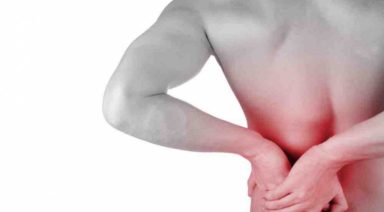
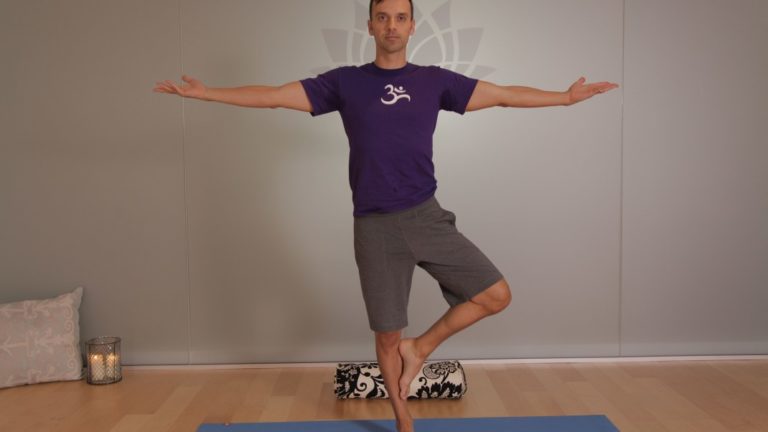
These muscles are what support and keep you steady in balance poses or when you transfer weight from one leg to the next as you walk or run. For many of us, these muscles are fast asleep, so we recruit our hip flexors at the front or our glutes and our hamstrings at the back to do a job they were not designed to do. Over time this can lead to low back pain and sacroiliac joint pain. Forcing our body to compensate will lead to problems over time. A look outside the hip Tree pose can be a simple test to see if we are accessing our side/lateral hip stabilizers.
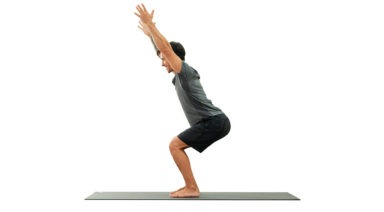
Stand in front of the mirror and take a medium-size tree pose with your foot resting on the shin (even if you can go higher). Place your hands on your bony pelvis again and see if they are level from side to side. If not, press the shin into the foot and the foot back into the leg so that the standing hip drops to make the hips level. If this is too difficult to achieve, keep your foot off the ground but come out of tree pose so that your knee is facing forward, raised to hip level with the knee bent.
Try to level the hips again here by firmly rooting into the ground with the standing leg. My Three Favorite Lateral Hip Exercises Most of us can benefit from a little extra love and attention to the side of our hips. Try these exercises to wake up your hips and begin to stand taller on one leg
1. Kick the Ball Standing: Lift one foot off the ground. Keep your leg straight and send your heel forward, toes pointing out as if you were passing a soccer ball in slow motion. Reverse this motion by turning your toes in and sending your leg behind you. Flow forward and back, heel in and out, in a short arc. Don’t forget about your standing leg: root into the earth and don’t let the hip hitch out to the side. Repeat this motion ten times and then switch sides.
2. Clam Shell: Lie on your side with either your arm or a foam block supporting your head. Bend both hips to 90 degrees with knees bent, feet touching, stacked on top of each other. Slowly lift your top knee up towards the sky while keeping your feet together (as if you were a clamshell opening). Keep your hips stacked and avoid rotating with the pelvis. Lower, repeat times, and switch sides.
3. Bicycle: Lie on your side with both legs straight. Flex your feet, as if standing, and stack them on top of each other. Lift your top leg so that feet are hip-width apart. Keep this distance as you flow through this sequence: a) knee bent move forward to the hip at 90 degrees, b) straighten at the knee, c) float straight leg back to start. This should look like you are slowly pedaling a bike. Keep the hips stacked and stable. Strengthening our lateral hips will not only improve our yoga practice, but will also balance our body and prevent injury so that we continue to walk, vinyasa, and run for years to come.