A 5-Minute Routine to Improve Your Posture
When we think of improving our posture we might think of holding the head high, or rooting evenly into our feet. Maybe we adjust the way we hold our pelvis or lift our chest to gain height. There is one area of our body that often gets neglected – our middle back or thoracic spine. Abused by hours of computer work or texting, our poor thoracic spine is an important part of spinal and full body mobility and when nurtured, can transform the way we hold our body.
A Closer Look at the Middle Back
The thoracic spine is made up of 12 vertebrae and starts at the bottom of the neck and ends at the bottom of the rib cage. Our 12 ribs attach at the back to the thoracic vertebrae and at the front to the sternum (with the exception of our lower “floating” ribs which do not attach at the sternum). Each vertebrae stacks on top of the next connecting via a facet joint which angles up and down. The angle of the joints in the spine affect the motion in each section. In the case of the thoracic there is the most freedom in rotation.
The Hunch
A common posture in the western world is a closed chest, which rounds the upper back. In turn this results in the chin jutting forward to keep our eyes level. The low back takes on additional load as the thoracic spine is no longer architecturally positioned to transfer load effectively from our upper body. Our shoulder range of motion is limited because the scapulae or shoulder blades have to alter their motion in relation to the rounded upper back and closed space at the front of the chest.
Simply spending five minutes a day sending a little love to our thoracic spine can have a trickle down effect improving our whole body alignment.
The 5-minute Thoracic Routine
Cat Cow on Elbows
Come onto your hands and knees, then lower onto your elbows, stacking your elbows under your shoulders. Inhale and lift your head, dropping your heart towards the floor. Exhale reverse the motion, leading with your head, send the space between your shoulder blades up towards the sky. Repeat 10-20 breaths.
Cat Cow Rotation on Elbows
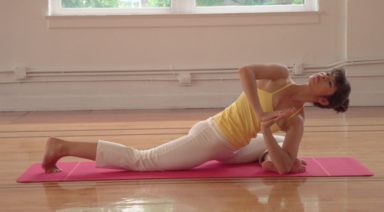
From the same position as above, bring your forearms together in the centre of your mat. Place your right hand behind your head, lightly resting on your skull. As you inhale, twist open to the right, exhale back to centre. Repeat 10 breaths then switch sides, twisting open to the left.
Reverse Sit-up
Keeping your yoga mat rolled up, place it horizontal to your spine. Position yourself so that you are lying over your mat placed around the bottom of your shoulder blades. Support your neck with both hands (skip this one altogether if you have neck pain) and slowly do a tiny back bend over the mat then return to neutral. Slide down to the next vertebrae and repeat, back-bending ever so slightly over the mat. Repeat until you reach the top of the thoracic spine.
Chest Opener
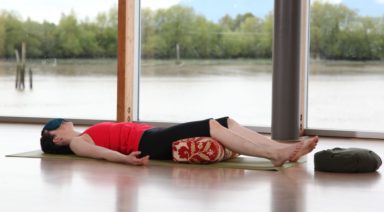
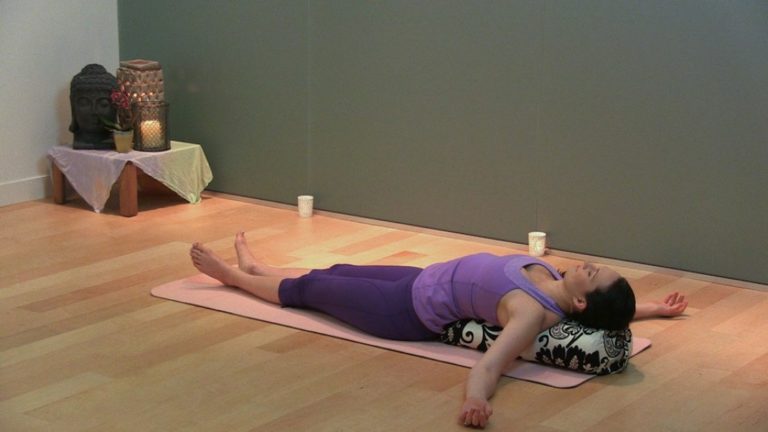
Next turn your rolled mat so it is in line with your spine, the bottom of the mat at the bottom of your shoulder blades as you lie back onto the roll. If your chin is jutting up to the sky, place a small amount of height under your head (which should be supported by the rolled mat) to level out your spine. Open your palms and decide what feels better for your low back–knees bent, or legs extended. Then just breathe.
Walk Proud
Simply taking five minutes out of your day to give your mid-back some attention can go a long way to improving your posture and alignment. It may even relieve that achey feeling so many of us suffer from. Don’t be surprised if you feel a little funny at first–most of us aren’t used to being in alignment. Just enjoy your new open posture.
Quadratus Lumborum and Mindful Back Health in Yoga
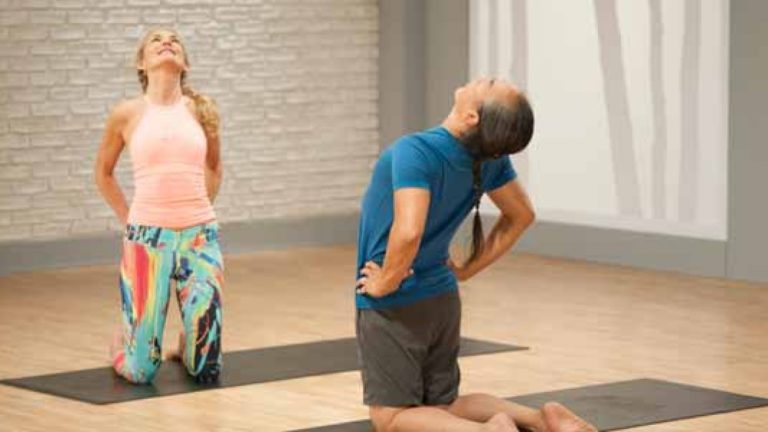
Low back pain is an increasing issue in our society dominated by poor posture, sedentary lifestyles, and chronic sitting patterns. The source of low back pain can vary, but a great deal of these muscular dysfunctions emanate from the quadratus lumborum muscles.
Most of us are quite familiar with the erector spinae muscles that travel from the hip crest/sacrum to various points up the vertebrae and ribs. These muscles function primarily as extensors of the back. Few people (including yoga teachers) are aware of the all-important quadratus lumborum muscles that are located deep toward the erector spinae.
The quadratus lumborum muscles sit on either side of the vertebrae. They originate on the iliac crest (hip bone) and insert on the transverse processes of the lumbar vertebrae and the 12th (last) rib.
When both sides contract, they extend the spine (and/or depress the ribcage from behind). When only one side contracts, the spine flexes laterally and/or elevates the ilium (hip) on that same side. In forced expiration, the quadratus lumborum will fix the 12 ribs.
When Back Pain Can Occur
Dysfunction and low back pain can settle into the quadratus lumborum under a few conditions:
- If the erector spinae are weak or inhibited (as they often are in chronic seated postures), the quadratus lumborum attempts to take up the slack and loading in back extension and spinal stabilization leading to overall muscle fatigue.
- If muscle imbalances build up across the pelvis (e.g., tight hip flexors), the lower vertebrae can shift into chronic excessive curvature (lordosis), which will shorten and weaken the quadratus lumborum and erector spinae.
- If poor posture and upper body muscle tension forms across the chest and shoulders, rounded-back posture (kyphosis) will pull the rib cage up and away from the hip crest. This places stress and drag on the quadratus lumborum and portions of the erector spinae.
- The deep gluteals (gluteus medius and gluteus minimus) are responsible for hip abduction and pelvic stabilization in walking and other gait patterns. If these deep gluteal muscles are weak and inhibited, the quadratus lumborum and tensor fascia latae have to compensate to stabilize the pelvis.
- Some physical experts have also found that tight hip adductor muscles (groin) can inhibit (through reciprocal inhibition) the gluteus medius muscles. As mentioned above, the quadratus lumborum muscle may compensate for the gluteus medius muscle’s lack of activity and pelvic stabilization.
How to Keep Your Back Healthy with Yoga
Understanding that the dysfunction residing in the quadratus lumborum is often the result of dysfunction and tension imbalances coming from other muscles, here are some initial approaches to maintaining health of the quadratus lumborum:
- Develop a strategy to maintain fluid balance in upper and lower body posture patterns to avoid chronic hip flexor tightness, back extensor tension, and loss of natural vertebral curvature and pelvic placement
- Stretch the chest, front of the shoulders, hip flexors, groin, and lower back frequently
- Strengthen back extensors and overall core stabilizers
- Strengthen and stretch deep gluteals to unload unnecessary engagement of the quadratus lumborum
- Engage in proper therapeutic treatments when discomfort and pain develop
Need help with yoga for back pain? Sign up for our Yoga Foundations Guide with Rodney Yee & Colleen Saidman Yee!
Do These Yoga Poses for Back Pain
Here are some basic, accessible stretches readily prescribed to restore and maintain flexibility in the quadratus lumborum muscles:
Child’s Pose
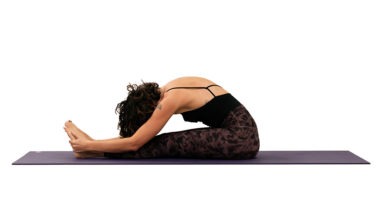
When aiming to stretch the quadratus lumborum muscles and other lower back musculature, I would personally recommend avoid using forward bends like Uttanasana (Standing Forward Bend), Paschimottasana (Seated Two Leg Forward Bend) and other similar poses.
Due to the nature of intervertebral disc compression in spinal flexion, these types of forward bends would be better served to actually involve engagement of the back extensors and transverse abdomen in order to extend the spine, shift the ‘flexion’ into the hips, unload the lower vertebrae and protect against disc compression.


