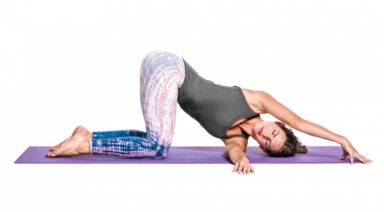
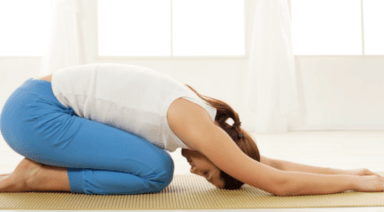
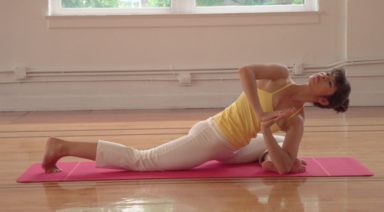
What Really Happens in Hip Openers
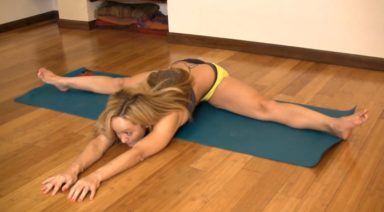
One of the most common requests heard in a yoga class is hip openers today please. This request is usually followed by the other half of the class groaning. We love to hate hip openers yet our bodies crave them and often feel lighter and more open after — for good reason. The majority of us sit for most of our days, shortening the hip flexors at the front of the hip (psoas, rectus femoris, sartorius) and tightening the hip rotators (piriformis, obturator internus, gamellus, to name a few).
A Look Inside the Hip
The hip joint itself is a ball and socket type joint with the head of the femur (thigh bone) sitting in the acetabulum or socket of the pelvis. A variety of muscles attach into the femur starting from the pelvis itself, the lumbar spine, the sacrum, or other parts of the femur. Hip openers could affect any of the muscles surrounding the hip depending on the position of the joint at the time of the pose.
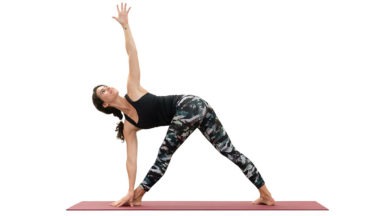
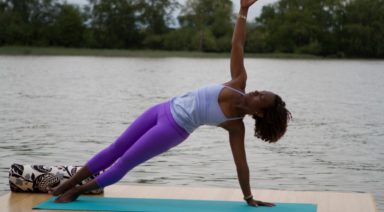
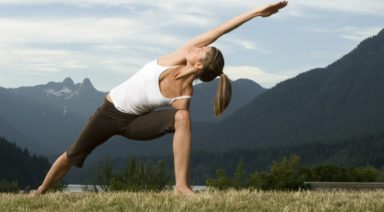
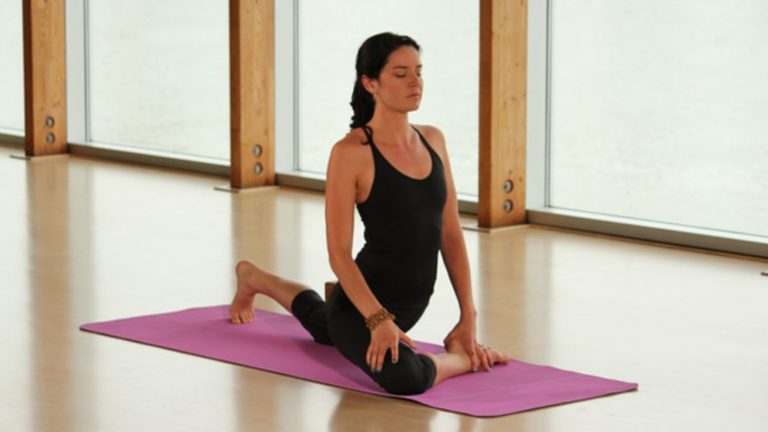
In general when we stretch or open a muscle we are lengthening its position, moving the two attachment points away from each other. This is easy to assess with linear muscles like the psoas which attaches from the front of the lumbar spine, crosses through the pelvis and attaches to the head of the femur. If we flex the hip forward we are shortening the psoas, bringing the two attachments of the muscle closer together. If we extend the hip backwards (such as in the back leg of Pigeon pose we are opening and lengthening the psoas. The effect becomes greater in King Pigeon pose if we assume an upright posture with our spine so that we lengthen the upper attachment more. In this example we can also rethink our definition of hip openers. Suddenly, poses with a bent knee where we rotate the hip are not the only way to open our hips. If the psoas attaches into the femur, and a shortened psoas tightens our hip (not to mention the affect it has on our low back) then poses like Warrior / Virabhadrasana or Half Moon / Ardha Chandrasana become hip openers too.
Rotate to Open a Rotator
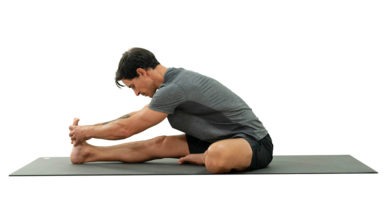
The rule of how to open a muscle becomes less clear with the hip rotators where the angle of the joint actually affects the action of the muscle. For example, the piriformis muscle attaches from the front of the sacrum to the back of the femur. It acts as an external or outward rotator of the hip. Except if the hip is flexed, then it assists in abduction or sideways movement of the hip. So to follow the rule of opening we would want to internally rotate the femur, flex the hip and adduct or bring the femur towards midline. This can be achieved with the top leg in Marichyasana (sit with your left leg extended, bend your right knee and step the foot across your left thigh so that the femur is flexed, adducted toward midline, and gently internally rotated.) Other hip openers don’t seem to follow the rule of opening. We often externally rotate the hip to stretch the external rotators of the hip. Huh? The reason this works is because we typically flex the hip at the same time.
Use Your X-Ray Vision
To understand how hip openers work we have to picture the position of the muscle. Let’s picture the obturator internus muscle, a close friend of piriformis. It attaches from our sitting bone or ischial tuberosity to the greater trochanter of the femur, a bony outcropping on the side of the hip. We can feel both of these pieces of bony anatomy. Our ischial tuberosities can be felt when sitting, they are the bony bits under the flesh of our buttocks. Our greater trochanter can be felt by first finding the top of our pelvis by by placing our hands at our waist, firmly pressing in and down until we feel a ledge. This is our iliac crest. Slide your hands down and with your thumb you will feel a bony prominence that is the femur. You can feel it move by slowing rotating the hip in and out. So now we can feel the attachment points for the obturator internus, between the ischial tuberosity or sitting bone, and our femur. From this observation we can see that in a neutral position the muscle wraps around the hip. So if were to flex the hip, the ischial tuberosity scoops under thus increasing the space between the two attachment points and increasing the wrapping distance of the muscle – hence lengthening the muscle. This is why a simple squat (using the term simple lightly) can stretch our hip rotators and can be one of the reasons Westerners find it so challenging to achieve.
Opening Our Hips to Open to Possibility
Since there are many muscles in the hip with many functions depending on the demands we place on our body, keeping these muscles supple can help us in ways that may not seem obvious at first. Hip openers may help us attain a standing pose we’ve been struggling with, or they may help us get down on the ground easily to play with our kids or our kitten. Traditional yogic thought attributes many healing properties to hip openers from organ issues to sexual dysfunction. So if you are one of the groaners when hip openers are suggested, perhaps pause to wonder if they could be helping you in ways you weren’t even aware.
3 Exercises to Strengthen Your Hips and Balance Your Body
In yoga we often speak of tight hips, needing to open the hips, balancing the opening of our hips from side to side (etc), but there is more to a balanced body than open hips. We also need stability and support from our hips. This is important not only in yoga but also in day-to-day activities like simply walking. It is especially important if you are an athlete and need to perform on one leg.
A Look Inside the Hip Our hip musculature is made up of many muscles, large and small. For stability, we need the muscles of the side of the hip to be active and engaged. If you place your hands on the sides of your bony pelvis below your waist, you can imagine a tear-drop-shaped area below the ridge of your pelvis. The front part of the tear is the Tensor Fasciae Latae or TFL which connects with your IT band to join at the knee. At the back part of the teardrop are the Gluteus Medius and Minimus, which lie underneath your big Gluteus Maximus.
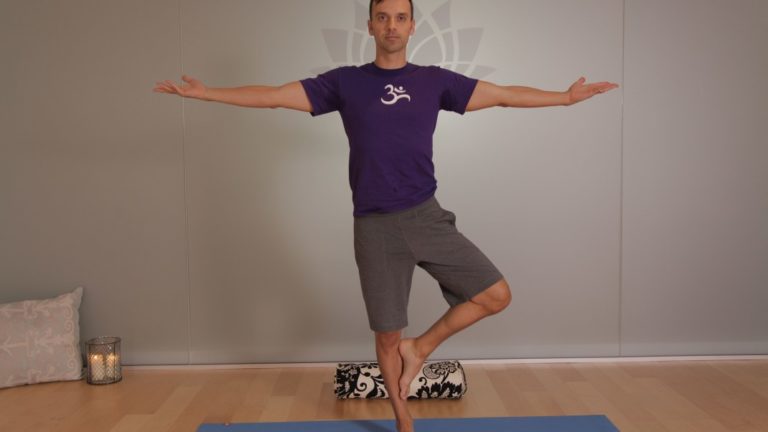
These muscles are what support and keep you steady in balance poses or when you transfer weight from one leg to the next as you walk or run. For many of us, these muscles are fast asleep, so we recruit our hip flexors at the front or our glutes and our hamstrings at the back to do a job they were not designed to do. Over time this can lead to low back pain and sacroiliac joint pain. Forcing our body to compensate will lead to problems over time. A look outside the hip Tree pose can be a simple test to see if we are accessing our side/lateral hip stabilizers.
Stand in front of the mirror and take a medium-size tree pose with your foot resting on the shin (even if you can go higher). Place your hands on your bony pelvis again and see if they are level from side to side. If not, press the shin into the foot and the foot back into the leg so that the standing hip drops to make the hips level. If this is too difficult to achieve, keep your foot off the ground but come out of tree pose so that your knee is facing forward, raised to hip level with the knee bent.
Try to level the hips again here by firmly rooting into the ground with the standing leg. My Three Favorite Lateral Hip Exercises Most of us can benefit from a little extra love and attention to the side of our hips. Try these exercises to wake up your hips and begin to stand taller on one leg
1. Kick the Ball Standing: Lift one foot off the ground. Keep your leg straight and send your heel forward, toes pointing out as if you were passing a soccer ball in slow motion. Reverse this motion by turning your toes in and sending your leg behind you. Flow forward and back, heel in and out, in a short arc. Don’t forget about your standing leg: root into the earth and don’t let the hip hitch out to the side. Repeat this motion ten times and then switch sides.
2. Clam Shell: Lie on your side with either your arm or a foam block supporting your head. Bend both hips to 90 degrees with knees bent, feet touching, stacked on top of each other. Slowly lift your top knee up towards the sky while keeping your feet together (as if you were a clamshell opening). Keep your hips stacked and avoid rotating with the pelvis. Lower, repeat times, and switch sides.
3. Bicycle: Lie on your side with both legs straight. Flex your feet, as if standing, and stack them on top of each other. Lift your top leg so that feet are hip-width apart. Keep this distance as you flow through this sequence: a) knee bent move forward to the hip at 90 degrees, b) straighten at the knee, c) float straight leg back to start. This should look like you are slowly pedaling a bike. Keep the hips stacked and stable. Strengthening our lateral hips will not only improve our yoga practice, but will also balance our body and prevent injury so that we continue to walk, vinyasa, and run for years to come.


