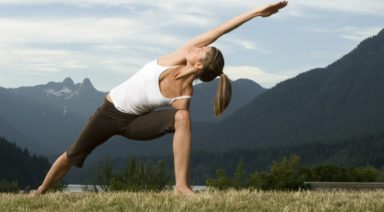
Yin Yoga Poses
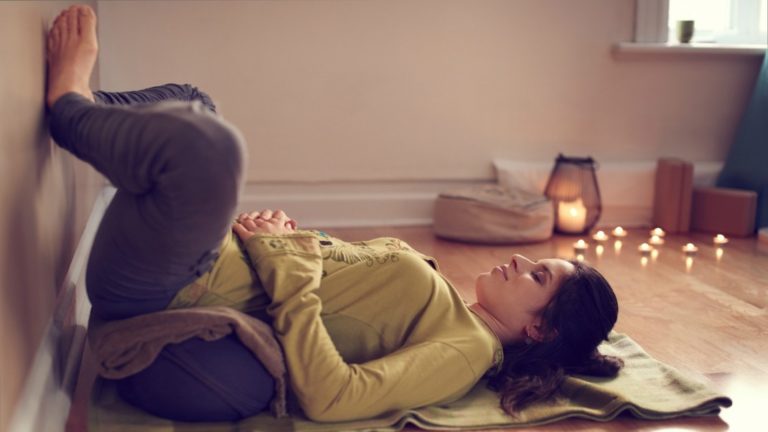
This article is an exploration of 10 Yin yoga poses. Yin is a style that is practiced by holding poses for a long time in a relaxed state. Yin stands in contrast to other contemporary styles of yoga, such as Vinyasa or Hatha, which generally move the practitioner from pose to pose quickly. Yin yoga ‘asana’, the Sanskrit word for poses, are practiced by following the three principles that Bernie Clark explains in Yin Yoga with Bernie Clark.
Three Principles of Yin Yoga
- Principal 1: Play with your edge
- Principal 2: Stillness
- Principal 3: Hold for Time
Play With Your Edge
Yin is a lunar practice, which tends to be healing and cooling. Unlike solar practices such as sun salutations, yin does not call for heating postures, breathing styles, or sequencing. Therefore the muscles are typically not warm throughout a Yin practice. Entering into poses with cool muscles requires special attention to the first edge.
The first edge is found by gently getting into the shape of a pose and noticing where the body naturally wants to stop. Yielding the natural limitations of the body prevents injury. There should be no pain at the first or any other edge, yet there may be some discomfort. Discomfort without radiating pain is a sign that the connective tissue around the joints is stretching. Reasonable discomfort is a gateway to more flexibility and greater range of motion. Props can add additional comfort and accessibility to yin yoga poses.
You may experience strong physical sensations during a Yin practice such as heat or discomfort. Finding the first edge is a method of exploring the strong sensations and sitting with them. When yoga asana is briefly mentioned in the Yoga Sutras of Patanjali, they are prescribed to be Sthira sukham asanam, or done with steadiness and ease. Steadiness points to the second principal, stillness, which is explored later in the article.
About 30-60 seconds into a pose, or if and when the body shows signs of being able to go deeper, it is safe to move to the second edge (or third or forth). It is important that the body, not the ego, give the signal to deepen. This humble practice never asks the yogi to prove or force anything. There is no need to try to “achieve” or to look a certain way. Gentleness, acceptance and honesty are critical in a yin practice. If the body starts to tighten, it’s a sign to slowly come out of the pose.
Stillness
Classical yoga was practiced as a means to still the mind for meditation. Sitting still in yin yoga poses lets the contemporary yogi dip their toes into the waters of deep meditation. One exception to stillness is when the body opens to a new edge. With the awareness that the body is ready to deepen, Yin yogis consciously move deeper and return again to stillness and breath. Another exception to stillness is the awareness of pain. In response to pain, it’s time to come out of the pose slowly.
Hold for Time
The third principal is to hold the poses for time. Poses can last anywhere from one minute to longer than 15 and in general are done for 5-10 minutes. Using a timer tells you how long you are staying still, which can be a way to gauge stillness from practice to practice. A timer can also ensure that both sides of the body get the same amount of time, which results in feeling delightfully balanced. The breath can continue to deepen the longer a pose is held. The lungs can expand seemingly forever. Counting breath is an interesting way to observe the expansive nature of the breath, which becomes possible during long holds. Profound experiences become accessible only when conscious and deepening pranayama is practiced.
Breathing expansively while remaining still presents the practitioner with what is rarely otherwise observed: the quiet inner dance of consciousness, an inner world so rich and mysterious, it is invisible most of the time. Holding (still) for time never seemed so tempting.
What Do You Need to Practice Yin Yoga?
- Yoga mat or as an alternative, a thick blanket or carpet.
- Yoga blankets and bolsters or as an alternative, towels and pillows nearby
- Blocks or (or books if you have none)
Optional items
- Sand timer
- Soft music
- Candles
10 Yin Yoga Poses
1. Chest and Shoulder Expansion
Sit cross-legged, your right side adjacent to the wall, reach your right hand back so the palm is flat against the wall at about shoulder height. Scoot your right hip in closer to the wall if you feel you can safely tolerate more stretch. Once the shoulder feels settled, bend the arm so you have the palm directly above the elbow at the height of your gaze. Sit and breathe for several moments. If you feel you can safely deepen, allow the left hand to come beside and slightly behind your left hip and press fingertips into the floor. Lift and open your chest. Slowly drop the left shoulder down and perhaps the chin and gaze point follow. Stay for 1-5 minutes breathing gently.
2. Lower Back Pose
Sit on a cushion if you have tight hamstrings or flat on the mat for more open hamstrings. Let the legs extend and relax so that the feet flop out gently to their respective sides. Knees can be slightly bent. Pressing the fingertips downward into the ground beside the hips, lengthen the heart higher in contrast. Then tuck the chin into the chest. Let the upturned palms fall to the outside of the thighs near the knees. Allow the upper spine to round. For your second edge, the hands may move down the legs closer to the ankles. Remember not to strive or do too much. Stay and breathe 1-5 minutes.
3. West-Facing Pose
This pose just like the lower back pose, sitting up legs relaxed and extended. Place one bolster over your thighs. Lift though the chest as you inhale and as you exhale fold forward and down, hinging from the hips so as to keep length in the low back. If you are not able to lay upon the cushion, add more props until you can easily lay your chest and face on them. Find your first edge. At this time you may determine to remove or reduce the props so that you can go deeper. Stay in the pose for 1-5 minutes. Note, this pose is called “west-facing” because it is cooling, like the setting sun, which sets in the west.
4. Wide Leg Child Pose
On your mat, add cushion beneath the knees using a blanket or towel. Bring the knees as wide or wider than the mat and big toes to touch or towards one another. Press your hips back toward the heels and walk your hands forward as you fold from the hips. Imagine a gentle anchor keeps the hips downward and the low back spreading wide. From there, stretch the arms, chest and head forward and down. If the head cannot touch the floor, put a block or folded blanket beneath it so it can rest. You may prefer to rest upon the forehead or to turn the head to one side and then the other. Let your arms and hands relax into the floor. Notice your edge and deepen if and when it feels right. Come out if the knees start to bother you, moving slowly. Practice for 1-5 minutes.
5. Wide Leg Child Pose, Thread the Needle Variation
From wide leg child pose, slightly raise the head and walk the right hand back. Thread the right hand under the left until the right shoulder is on the ground and put the right temple on the floor. Repeat on the left side. Practice 1-5 minutes on each side.
6. Lizard
Come to your hands and knees with a folded blanket under the knees for padding. Bring your right foot forward so it is just to the right on the right hand, make sure your shoulders are over the wrists. The right knee stacks over the right ankle so your shin may feel as though it is moving forward in space. If the right knee pops out to the right, redirect it over the ankle, pressing down into the right foot and imagine pressing the shin forward.
If needed, bring your hands up on blocks, lift through the chest, curl the left toes under and squeeze the left leg so the thigh lifts off the ground. This will cause the thigh to rotate internally, which means the alignment is now safe for deepening. Now , bringing the left knee down onto the blanket and then flatten the top of left foot into the mat. You may stay like that or bring your elbows onto the blocks to deepen. You may end up with no blocks, elbows on the mat beneath the shoulders or you may end up staying high on blocks. Honor where the body needs to go and remain for 1-5 minutes before repeating on the other side.
7. Pigeon
Place a flat bolster horizontally across the mat or a folded blanket about halfway down the length of the mat. Place both knees on the bolster. Bring the right knee forward of the cushion in front of the right hip and the foot toward on left side of the mat. Place the palms on blocks beneath the shoulders and bring the left leg back so that the thigh and top of left foot are pressing into or towards the floor. Let the pelvis be supported by the cushion. You may stay upright, opening the chest, or choose to ease yourself down, perhaps deepening to the point where your head rests on blocks or on the floor. Remain in the pose 1-5 minutes and repeat on the other side.
8. Supported Reclined Butterfly
The use of props to recline makes this supportive and relaxing. To do so, place a block the tall way and another the short way so they make an L. Lay a bolster or supportive cushion over the blocks so that it a slanted toward the floor. Place yourself with your back against the lower part of the cushion with the souls of your feet touching. To keep the feet together and to allow the hips to relax, use a strap or a long rolled blanket to wrap the feet.
9. Supported Gentle Fish
Place a block at medium height near the top of the mat. Sit so the block is behind you with the legs extended and relaxed. Lay your back over the blocks so they land between your shoulder blades boosted your heart up. Let your head relax back onto a block, making sure the neck is supported. Allow the arms to pour open and drip into the floor on either side. Breathe into the heart and let the body seep down onto the props. As your edge moves, notice the chest may boost higher. Remain 1-5 minutes.
10. Corpse Pose/ Savasana
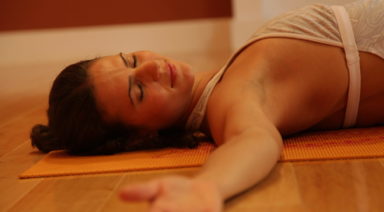
Lay on the mat on your back. Let the arms and legs relax. Arms by your sides, feet slightly flop out. If your lower back is uncomfortable place blocks or a cushion under the knees. Stay as long as you wish. Let go of doing and drop into being.
Photos courtesy of author Lara Hocheiser and featuring Blair Smalls.
Top 10 Yoga Poses for Headaches
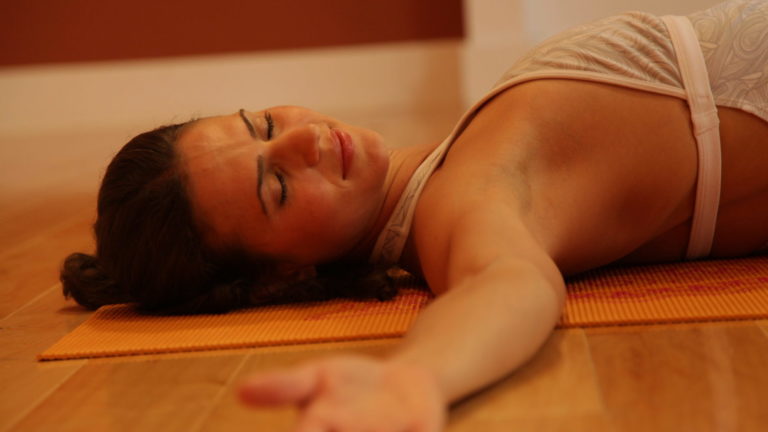
Yoga can be a beneficial therapeutic tool for relieving headaches brought on by muscle tension and stress. The majority of headaches originate from muscle stiffness and imbalances emanating from the neck and upper back. When headaches set in, using a series of restorative yoga exercises can greatly relieve both the cause and symptoms. Here are our top yoga poses and exercises that naturally treat headaches.
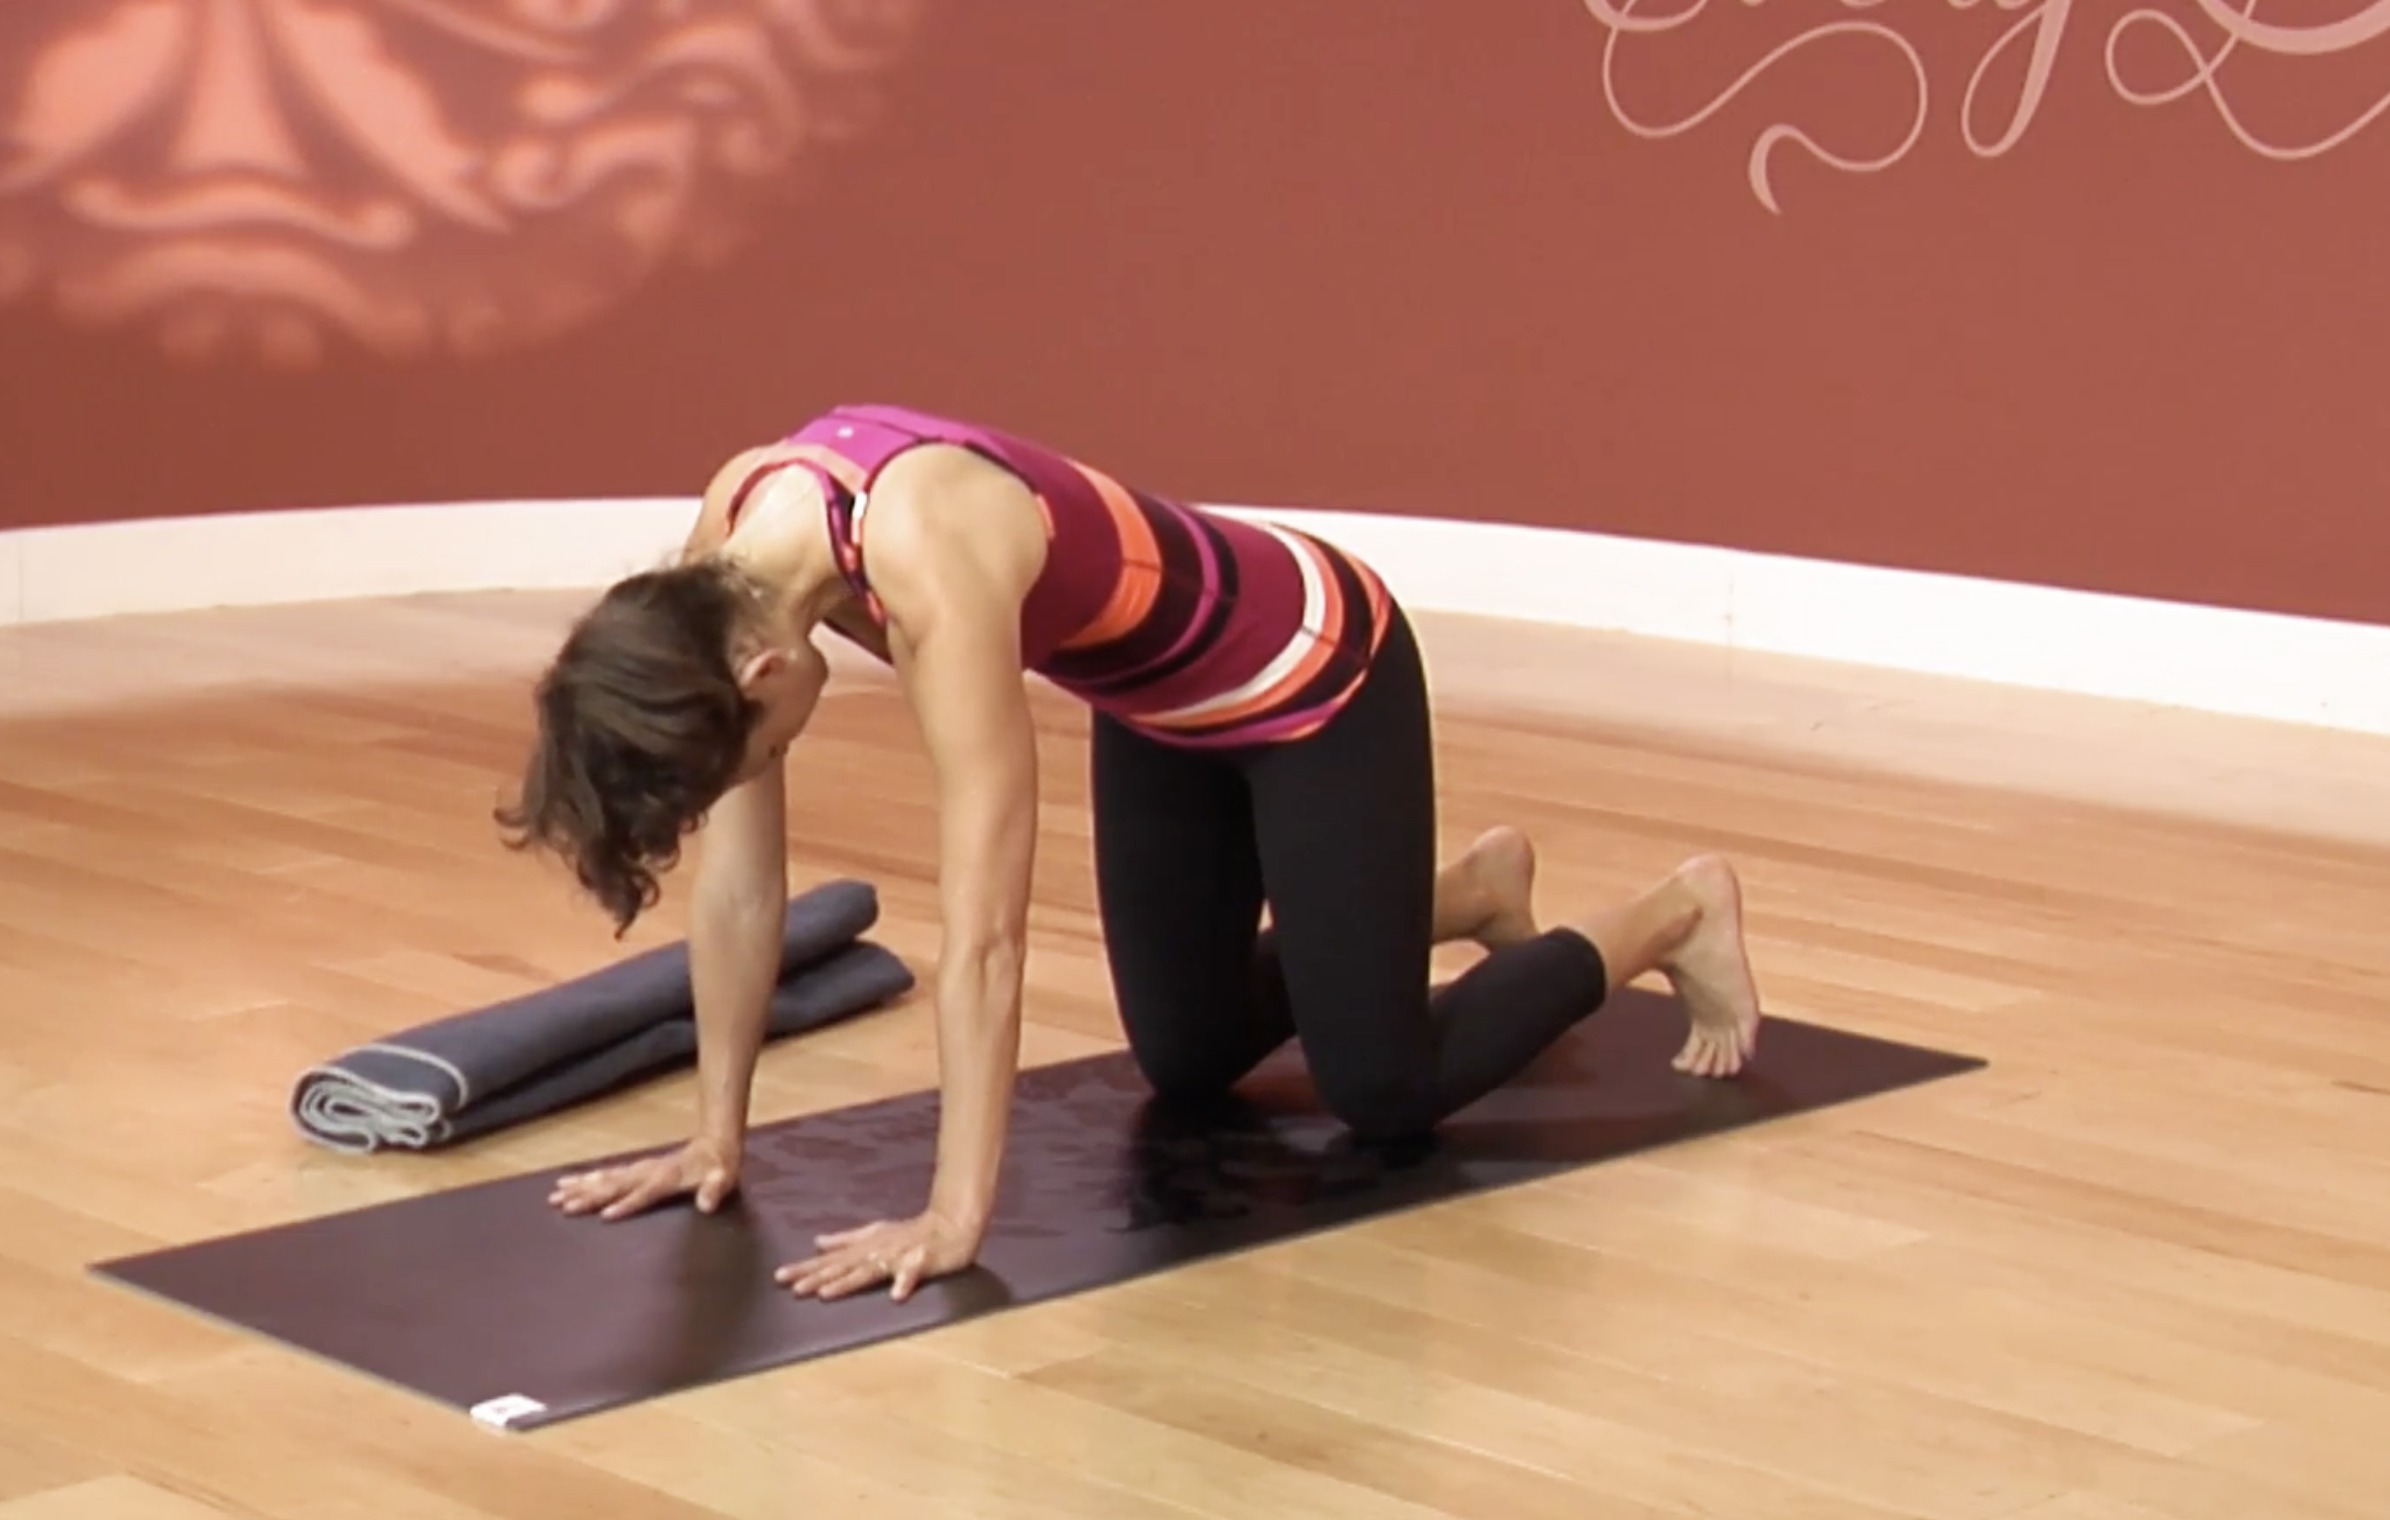
1. Cat Pose: The flowing motion of breath and spine helps release tension from the neck and upper back while also pouring refreshing energy through the body and mind.

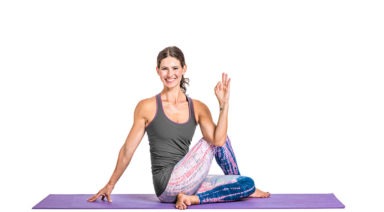
2. Seated Twists: Besides increasing circulation throughout the entire length of the spine, the twisting motion in the upper spine (cervical region) often alleviates tension coming from the scalene muscles of the neck (anterior aspect).
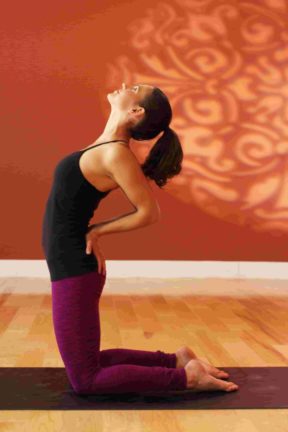
3. Chest Openers: Much of the tension in the back body is a result of muscle dominance from the front body (called Upper Cross Syndrome). Expanding the chest and front shoulder muscles helps break down muscular imbalances and frees the tension coming from the neck.
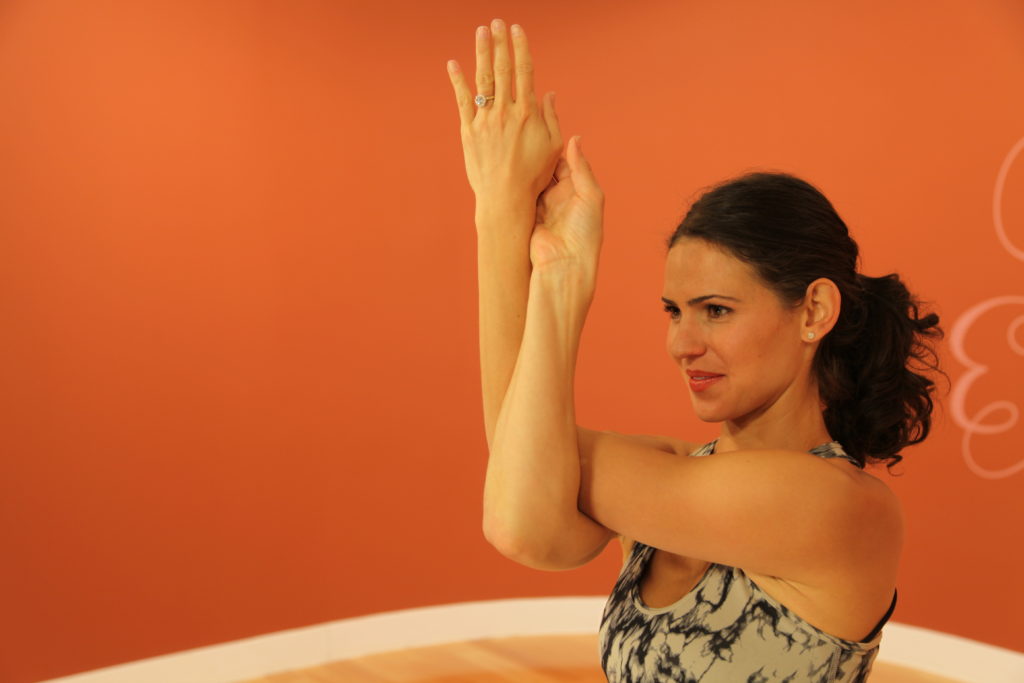
4. Eagle Arms: This simple crossed arm pose can be done in Mountain Pose or any natural seated posture. This back expander can reach well into the mid and upper back targeting problematic muscles around the shoulder blades and the base of the neck. Take time in this arm pose to breath slow and full into the upper back and insure that you perform this arm pose on both sides.
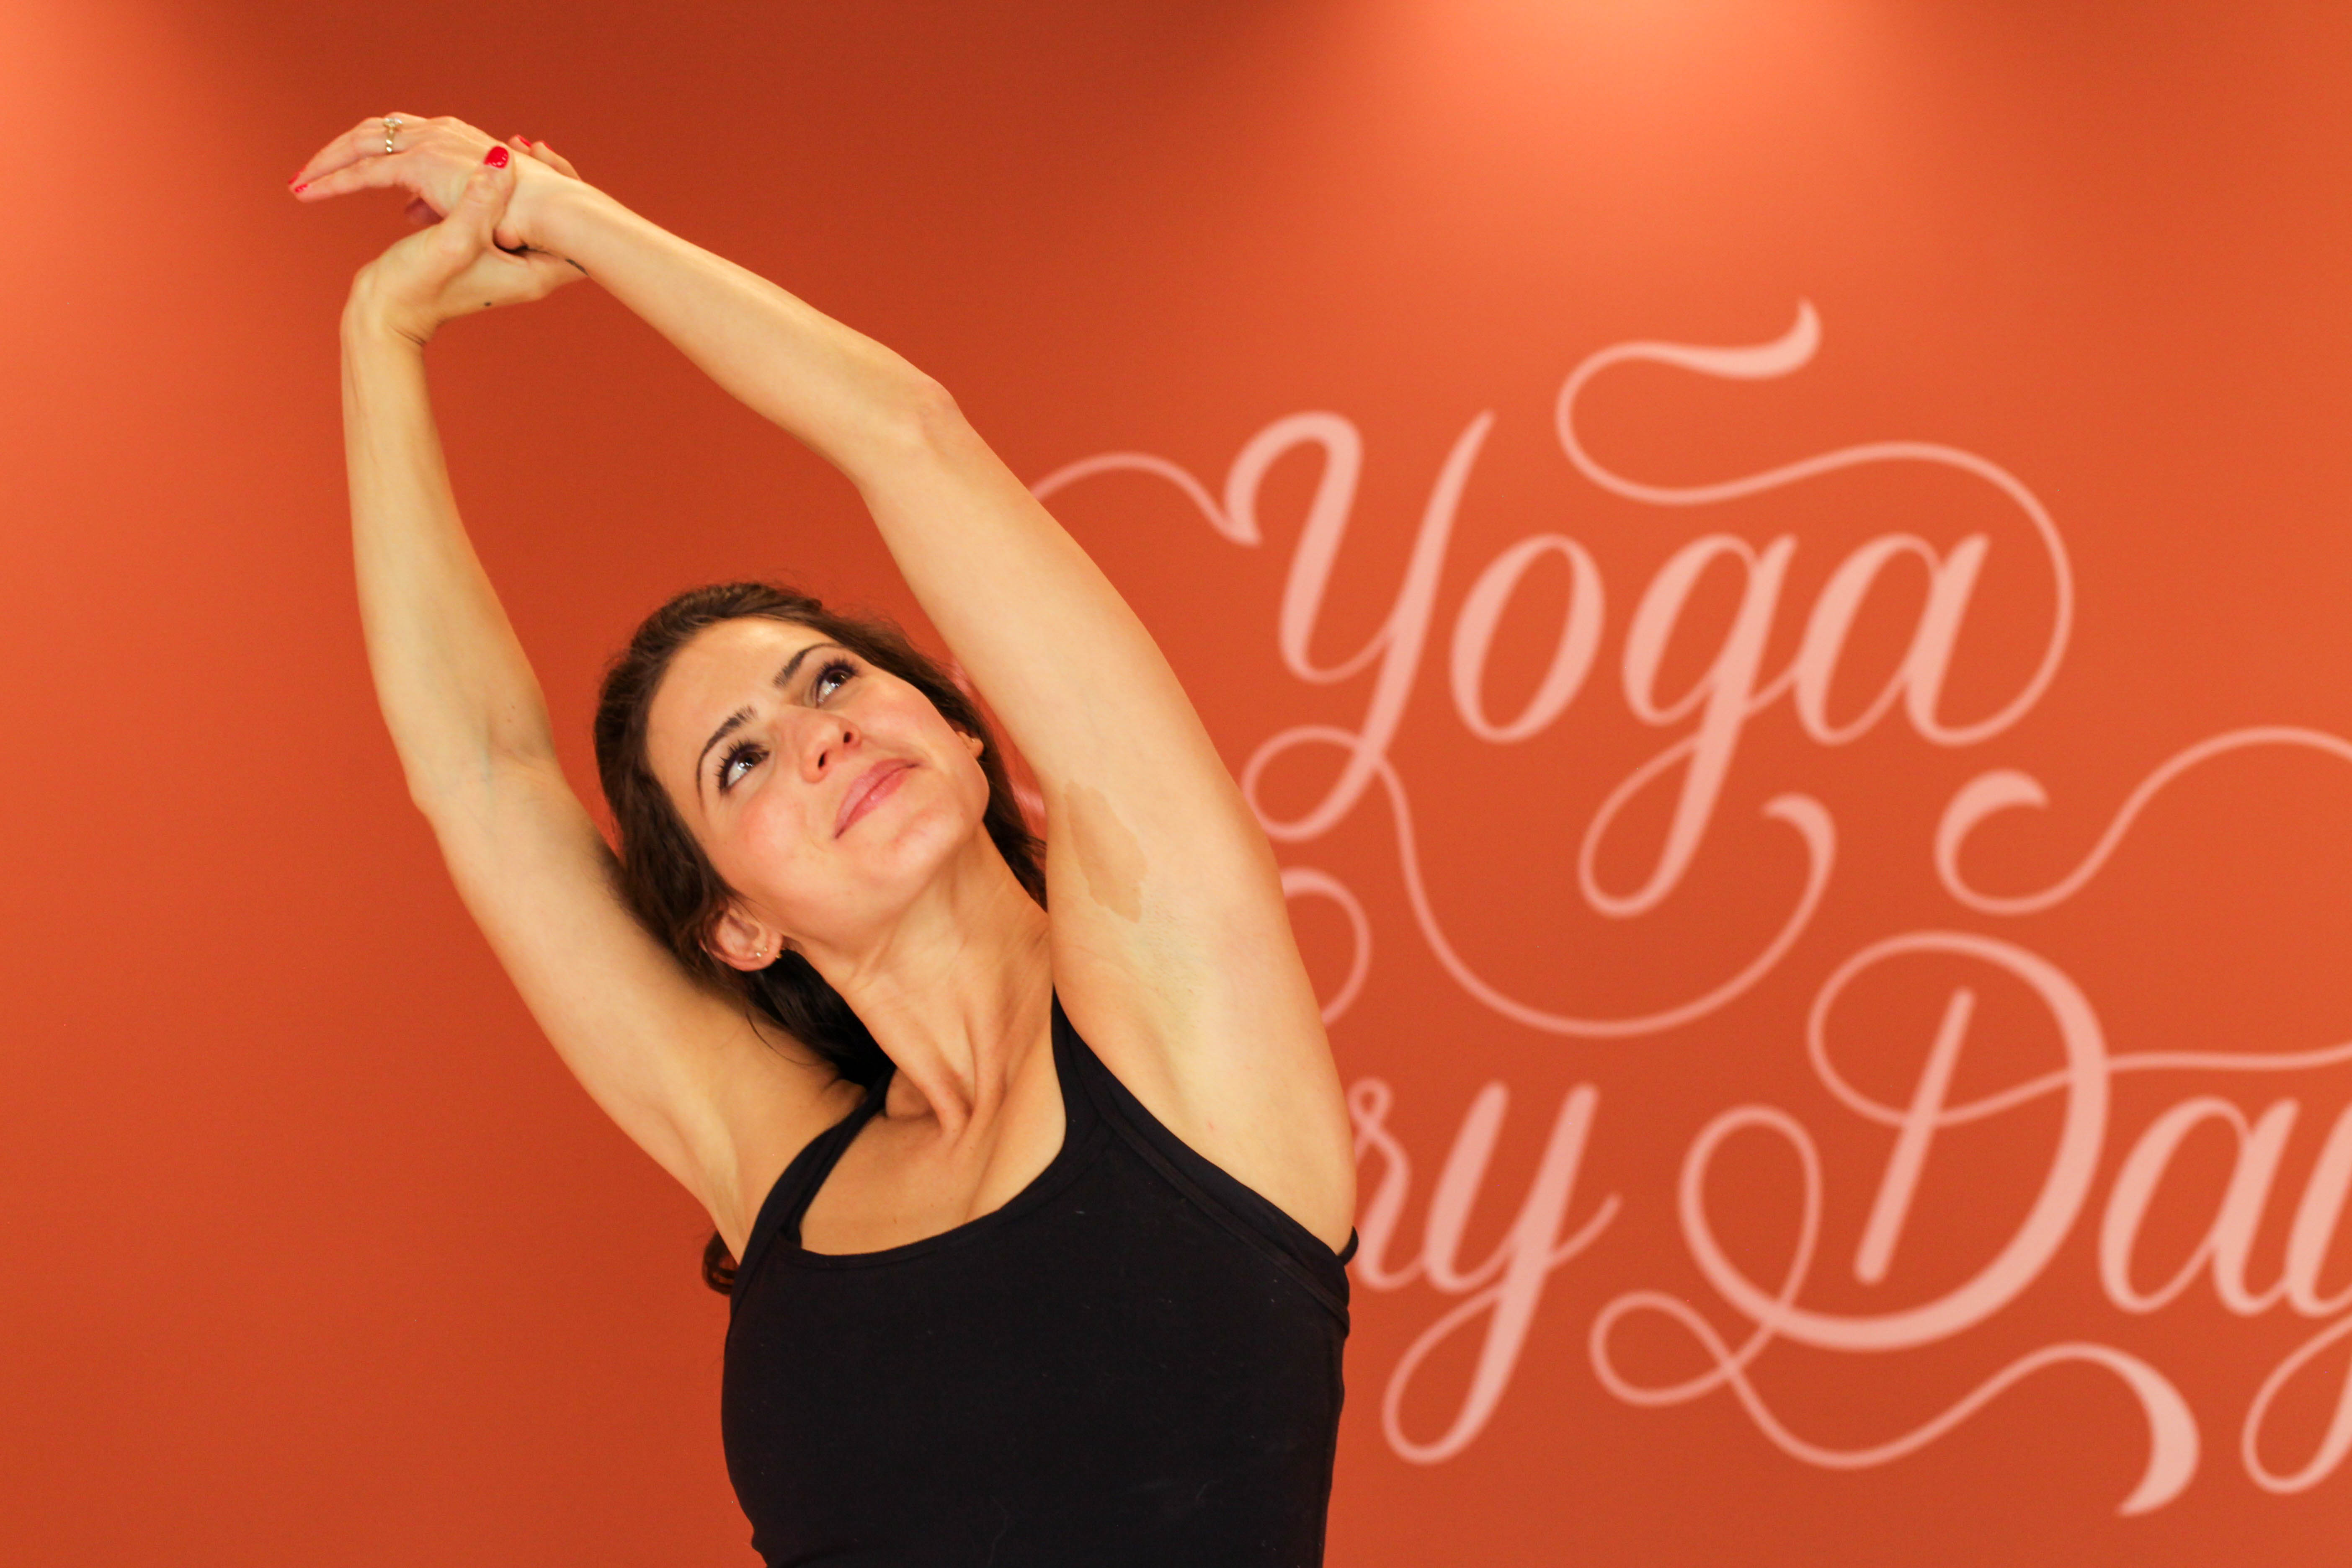
5. Simple Neck Stretches: Gently move through the various muscle fiber lines by allowing your head to float down to one shoulder with gravity, down across the chest and into the other side – repeat with a natural, unforced motion. Avoid letting the head fall back-keep the motion in a half circle from one shoulder to the other. Pause where you find extra areas of resistance.
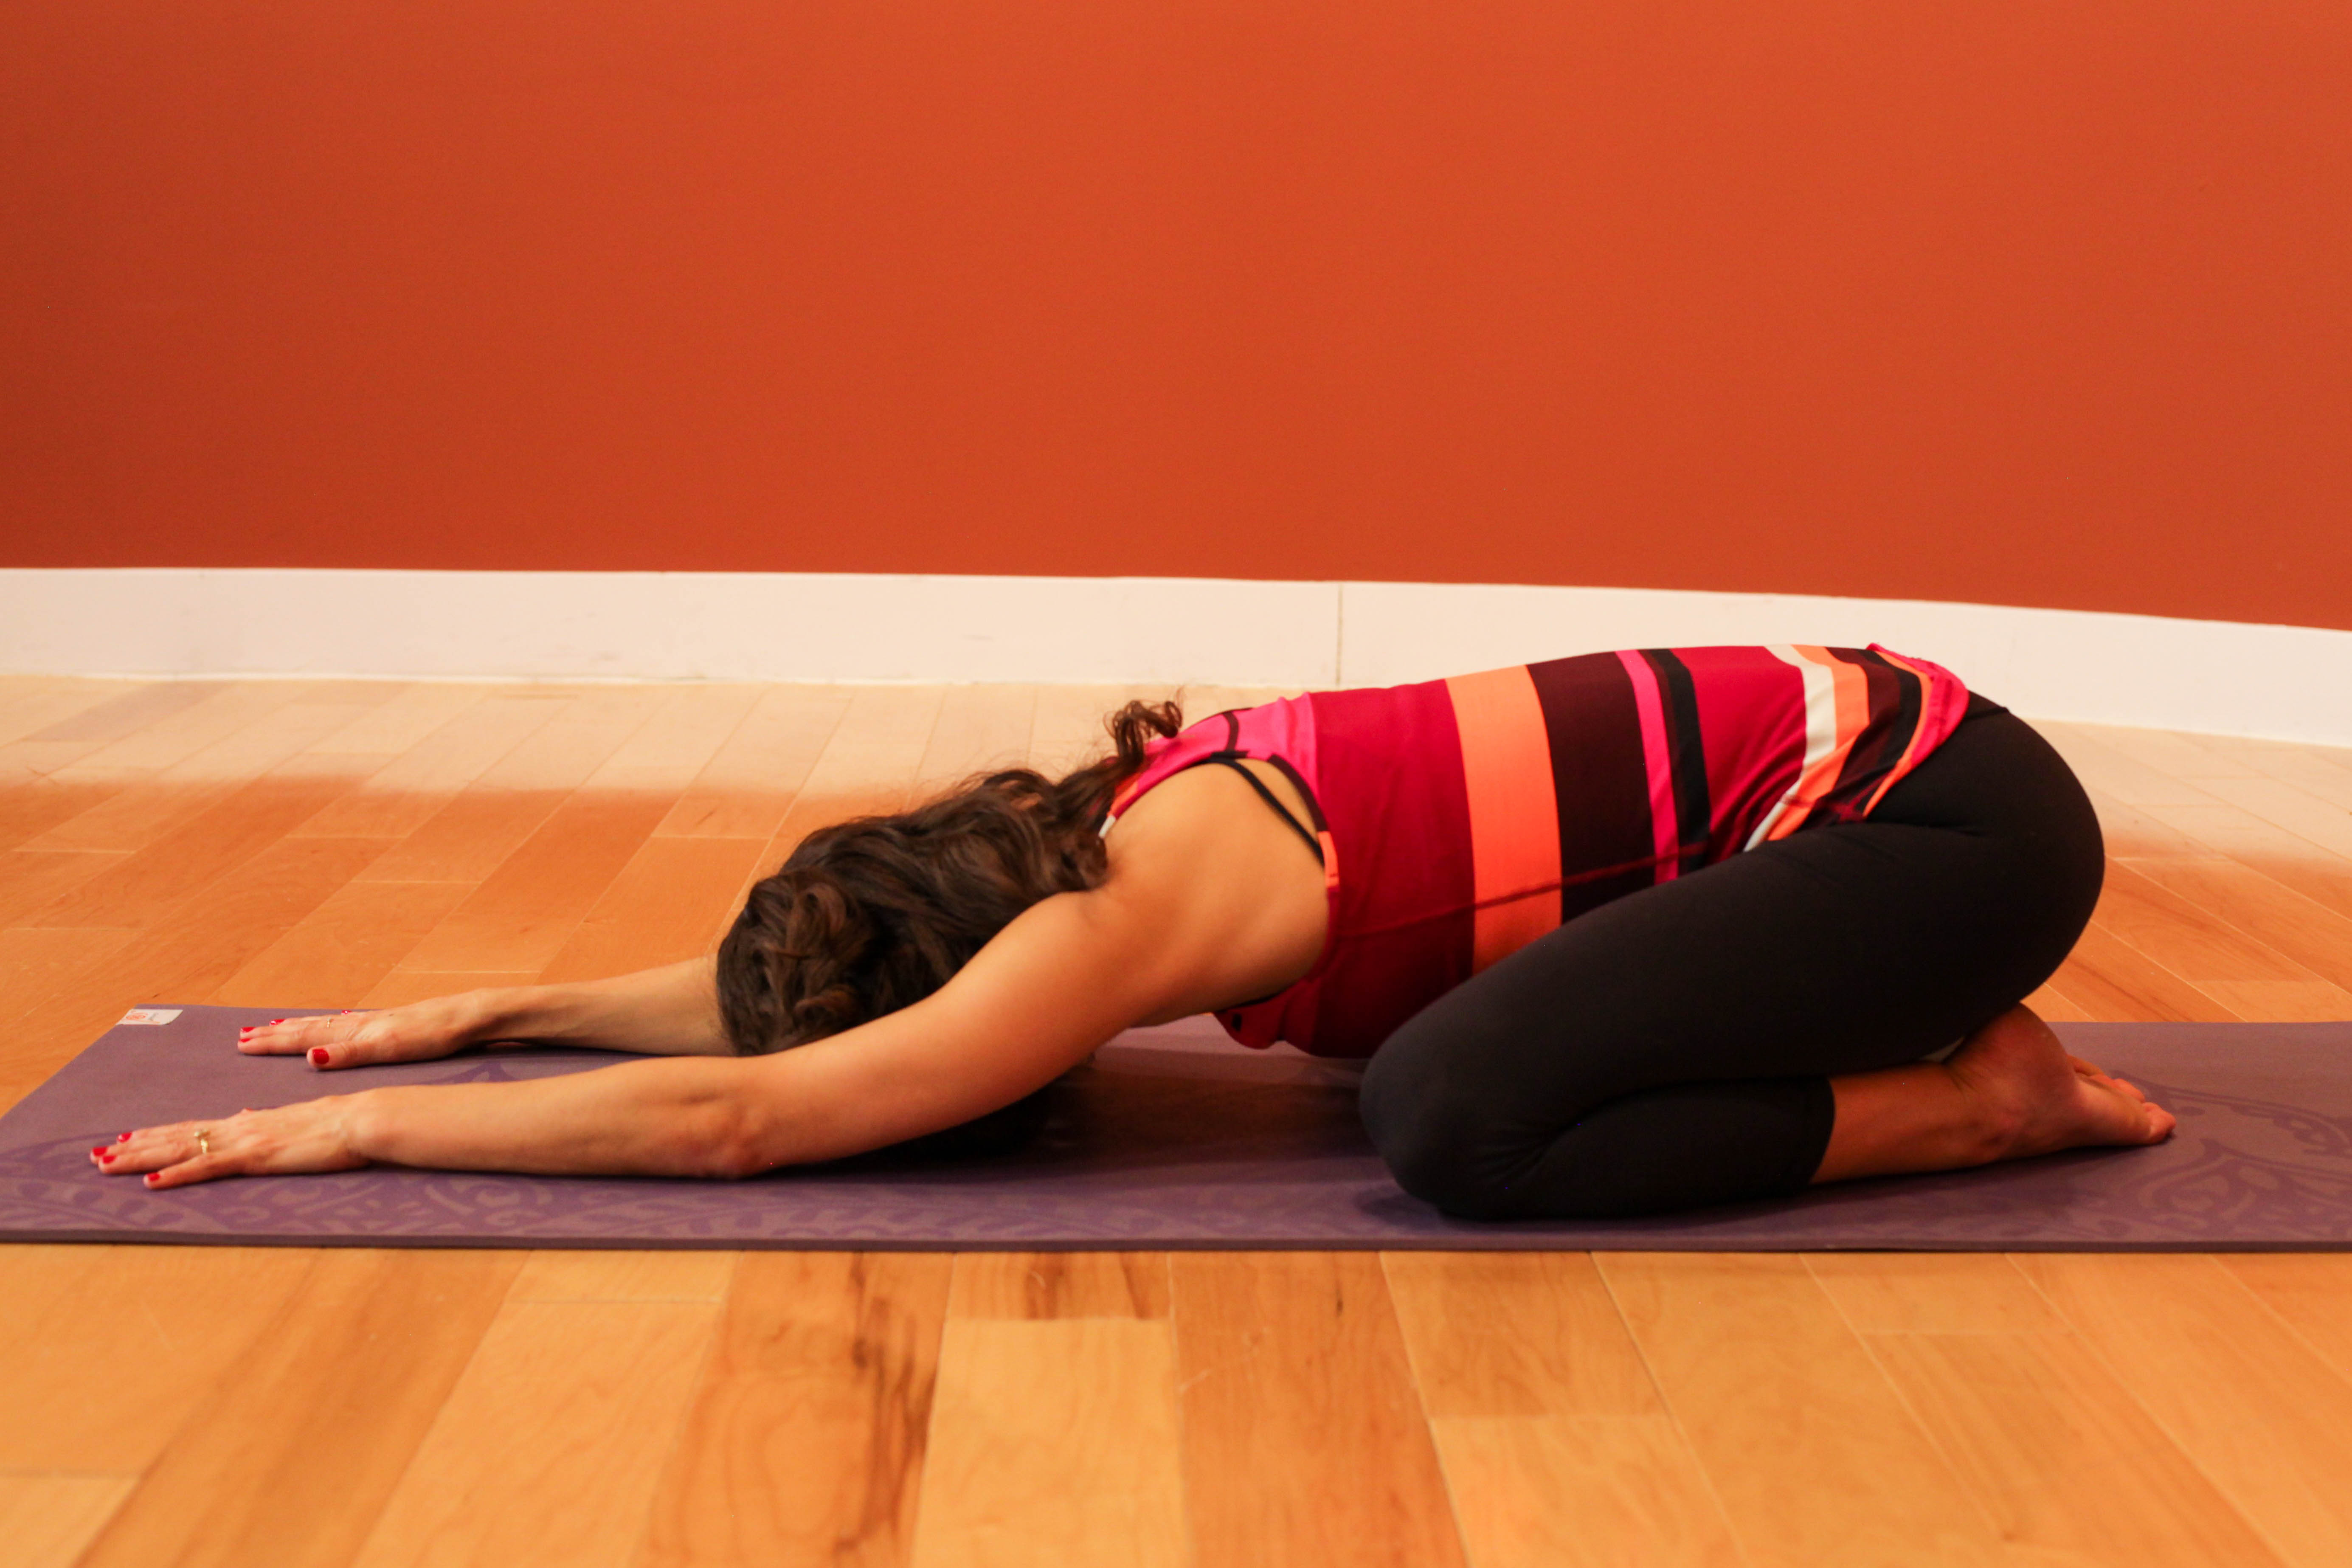
6. Child’s Pose: A perfect restorative yoga pose that slightly inverts the body. A gentle flow of extra blood circulates into the head helping relieve tension. With the legs slightly separated, you can easily settle into deep core and back breathing to encourage a flood of circulation to reach deep into the body. Note that the head and neck should be absolutely comfortable. If needed, keep you arms forward or bend the elbows and rest the forearms by your chest/under your shoulders so the palms face up-this will greatly unload any pressure from the neck.

7. Two Knee Reclining Twist: Unlike our seated twists, this reclining twist can be far more restorative and held longer to bring deeper focus into relaxing the nervous system while the chest expands and rejuvenates the spine. Give extra attention to releasing the shoulders into the mat to release dominance of the shoulder and chest muscles.
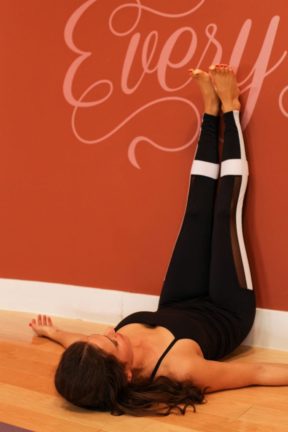
8. Legs Up The Wall Pose: This highly beneficial inverted pose is great for developing hamstring flexibility and for improving circulation in the lower limbs. For headaches, the extra flow of blood to the brain and the restorative support can be deeply relaxing and nourishing.
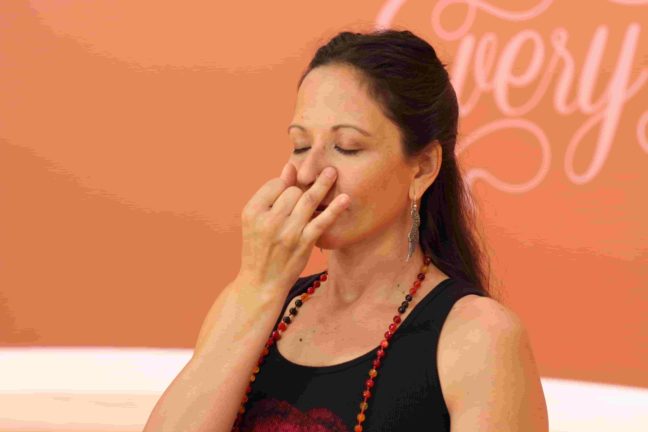
9. Alternate Nostril Breathing: The aim of alternate nostril breathing is to restore balance to the energy systems. With balance, we find release and calm. This yoga breathing exercise is easy to do for all levels and targets the nervous system by slowing brain waves, calming the mind, and purging stress.
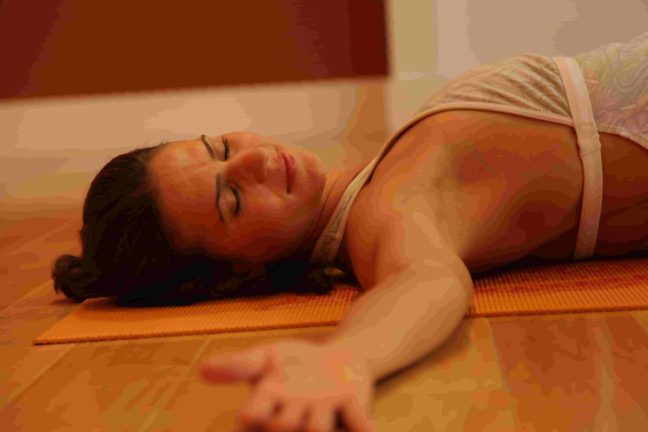
10. Relaxation Pose: After doing a series of restorative yoga poses, take some time to simply relax and release in Savasana. Turn the focus away from the symptoms of your headache and settle into the sensation of mental and physical release. You may find a light eye pillow helpful in moving tension/pressure out of the eyes and forehead. Increase your comfort by placing a bolster under the knees and a thin pillow under the head. To complement the chest openers and reclining twists, lay with the arms open to the sides/palms facing the ceiling.


